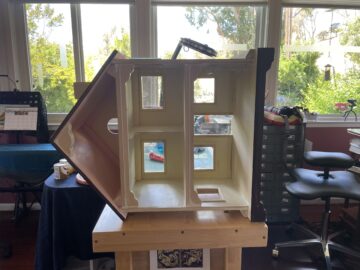
When we get a dumpster in, we offer any remaining space to neighbors once our stuff has been packed in. Among the bits and pieces one neighbor brought over was a cute little wooden dollhouse. It gave me an idea.
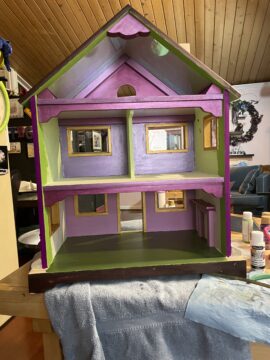
I sanded it to remove most of the original paint and some crayon marks. Then I got to work.
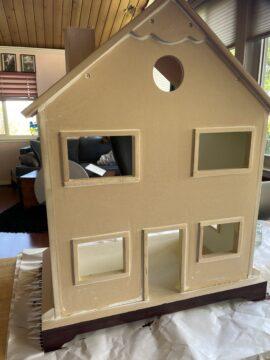
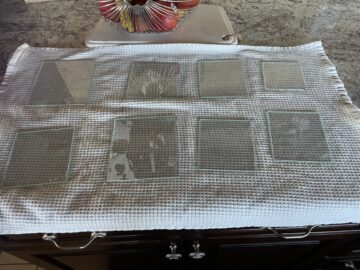
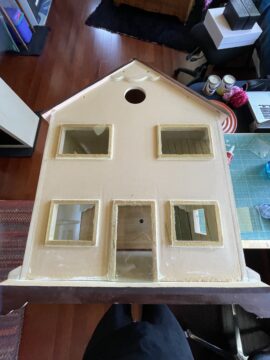
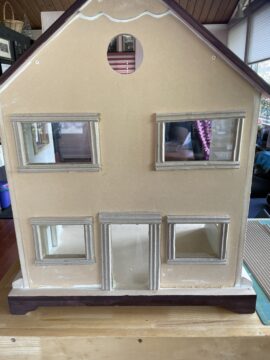
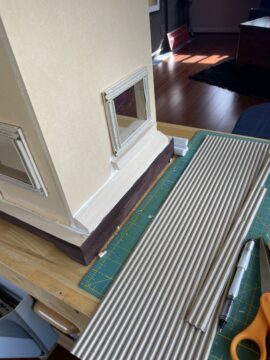
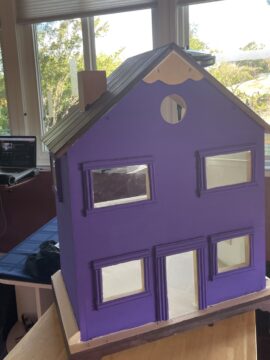
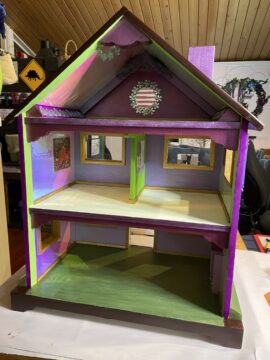
I had small panes of glass left over from another project, so using my trusty tile saw I cut out panes of glass to fit the windows and doors. Since I could only do straight cuts with the saw, the little round window in the attic space would have to wait, but with a bit of hot glue, the other panes were easily affixed to the exterior of the house. Then I made some window trim using some corrugated cardboard, but the glue and paint made the cardboard soggy and it lost its shape. So I ripped it all off, cut new bits, and this time slid skewers through them so they’d keep their shape. Thankfully I had lots of skewers left over from the pretty mirror project I did a few years back. Once the molding was up, I gave the exterior a quick coat of dark purple paint.
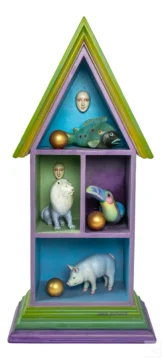
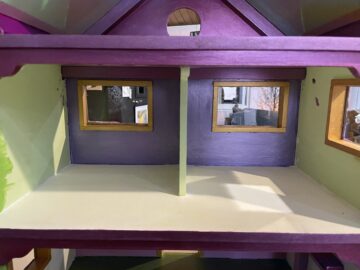
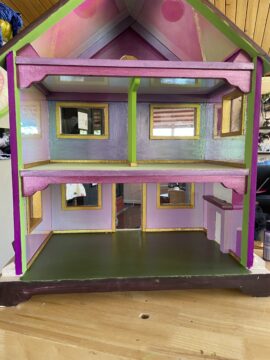
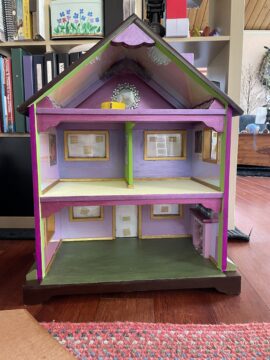
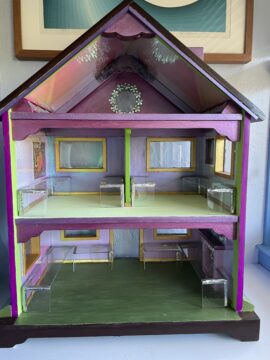
Then I started working on the interior. I was inspired by the colors of the piece below (“Wildlife Animal Sculpture” by Sergio Bustamante) that I saw at an online auction house. I liked the color combinations, but since it was going to eventually end up in the blue room I decided to forgo the blue. I had some leftover Cricut vinyl from another project, so I papered the ceilings with it. I liked the effect so much, I then added it to the side walls as well. It was not an easy task, though, to get it to fit around those windows. I then set about finishing the interior paint job.
Here are some progress shots. The last shot is after all the painting was done and I masked the windows and door so I could spray the exterior with polyurethane.
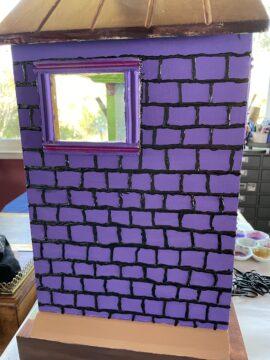
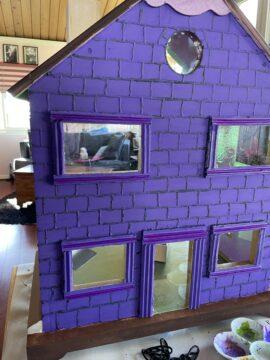
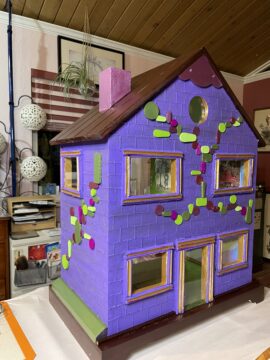
I took a break from interior work so my brain could percolate over the issue of the round window and started in on the exterior. The plain purple was vibrant, but the exterior needed something more. I have some textured paint you can squeeze out that I wasn’t using, so after drawing some guide lines, I spent quite a bit of time making the exterior look like it was made of stone.
Once the black lines dried, I then did another coat of the purple paint. I also started working on the window trim detail. It was still a work in progress, but it was starting to look a bit like I’d envisioned.
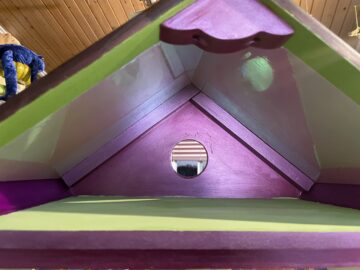
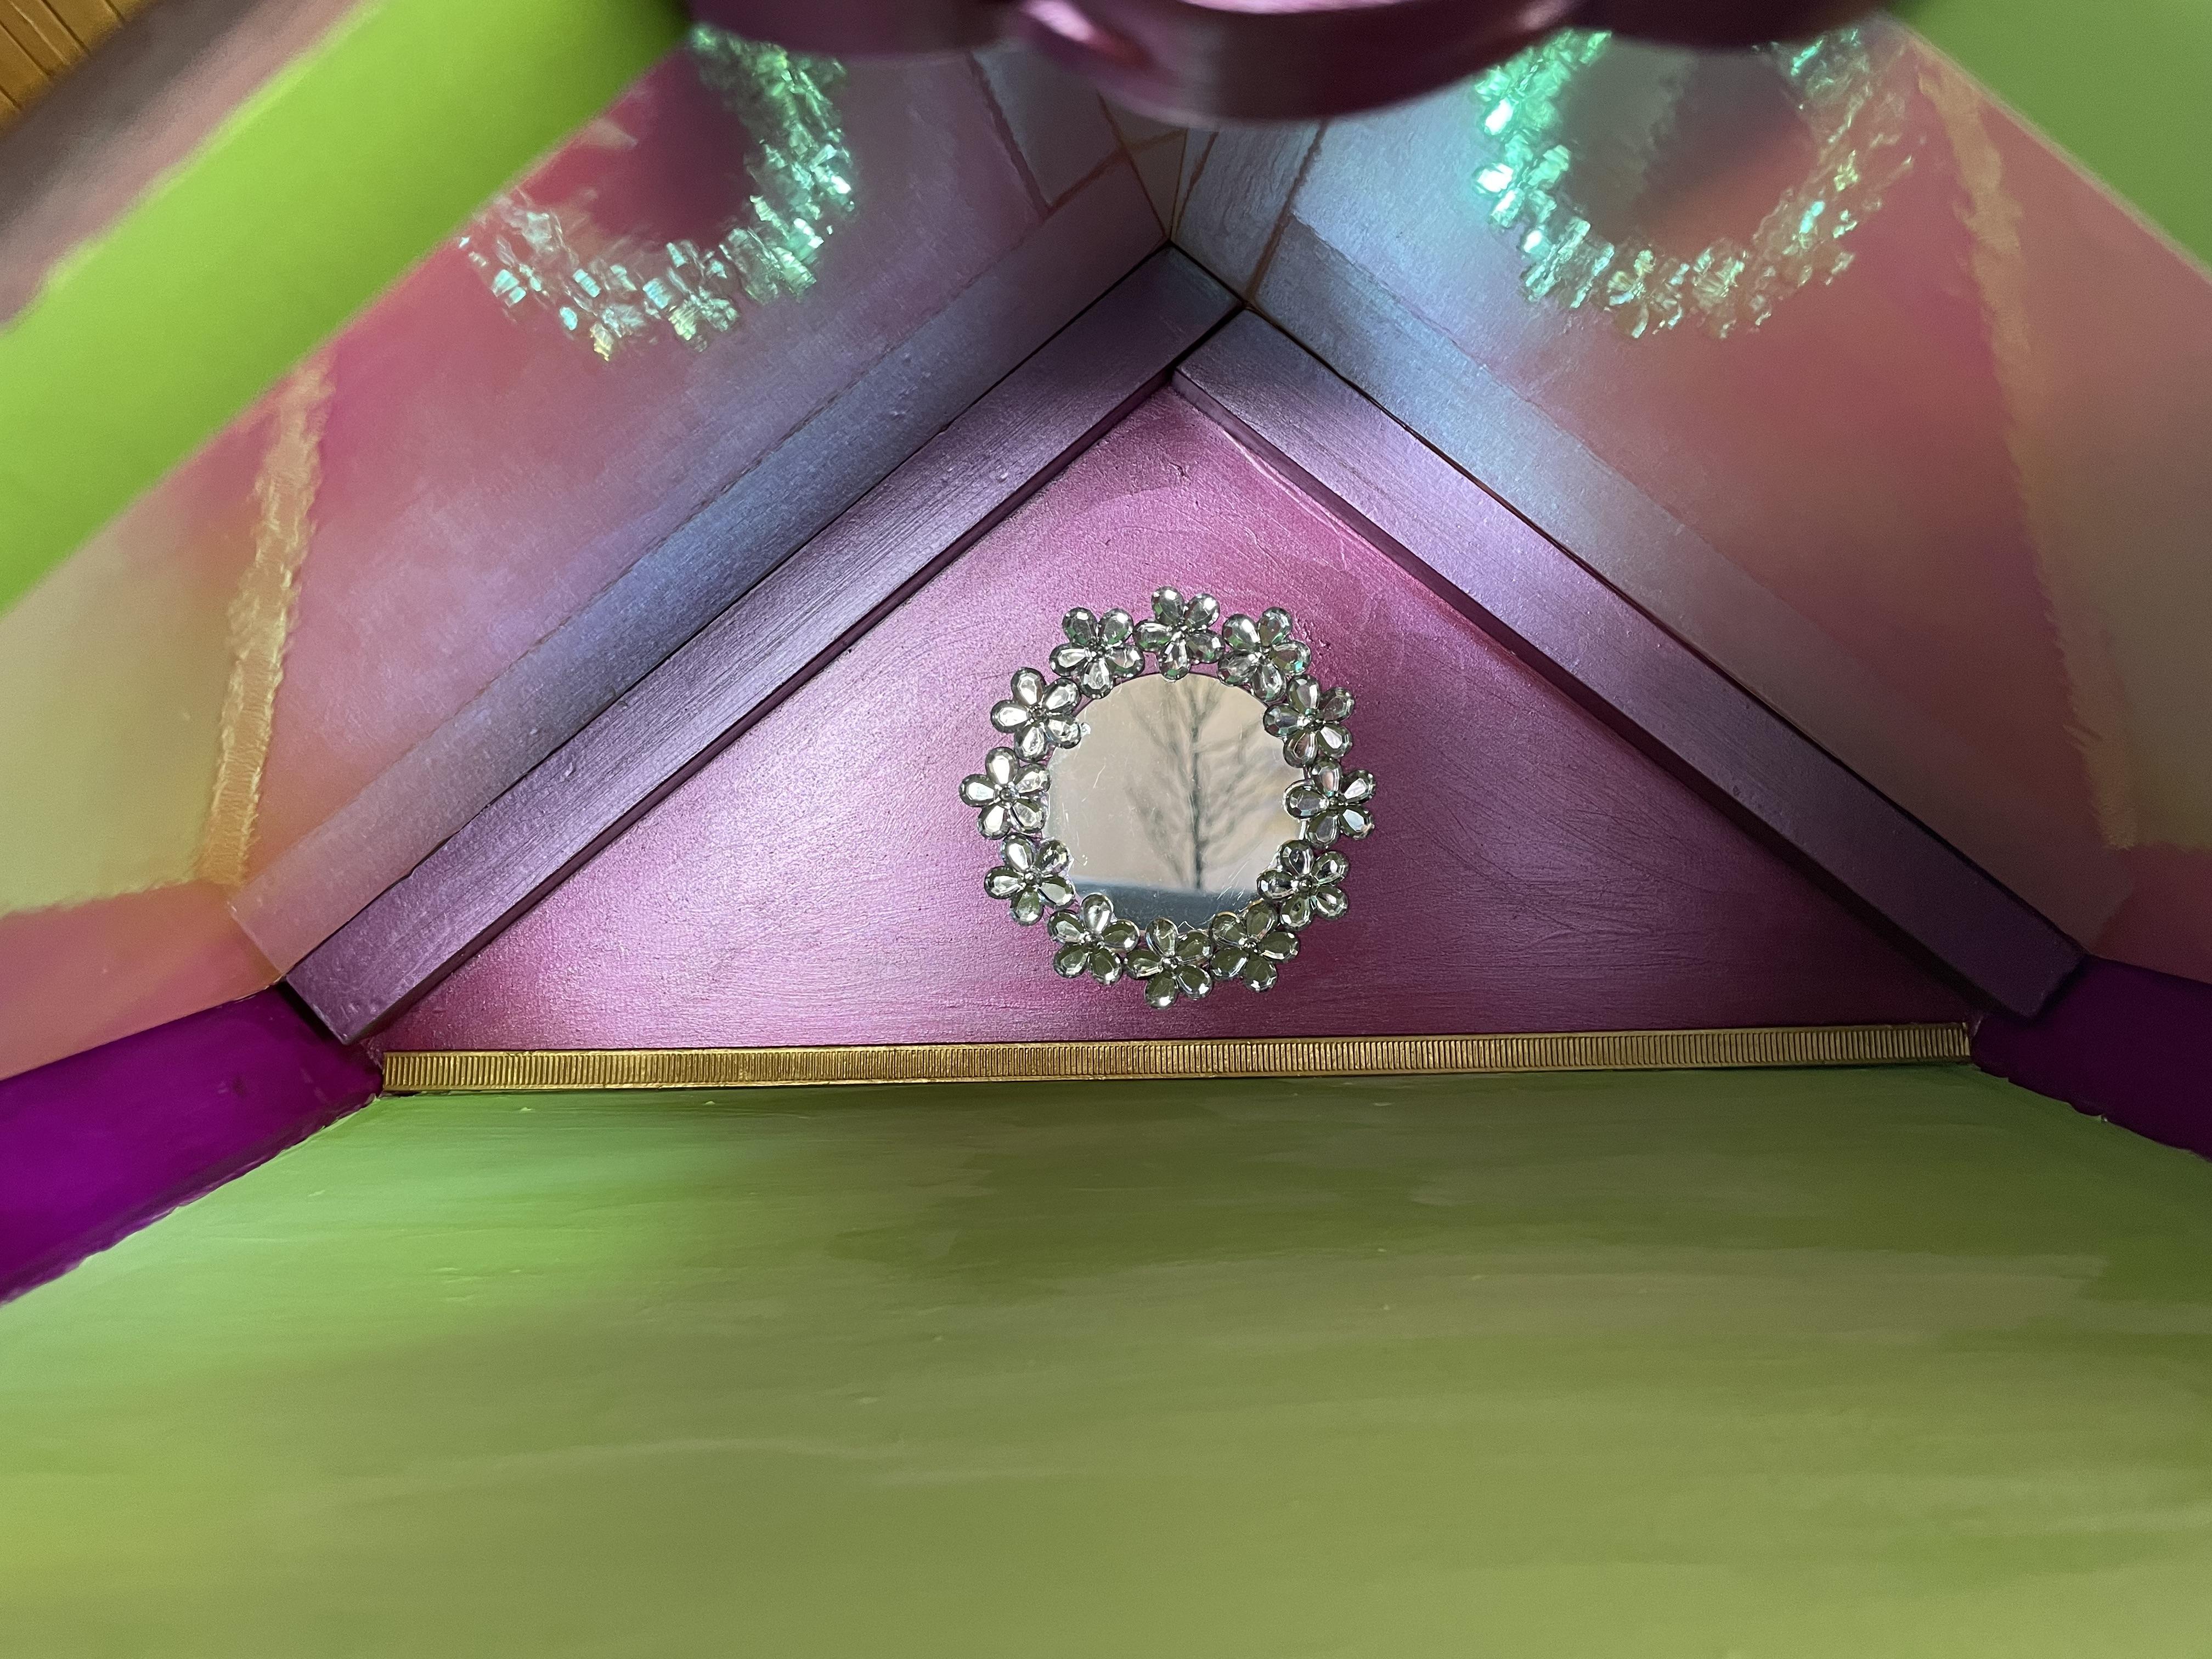
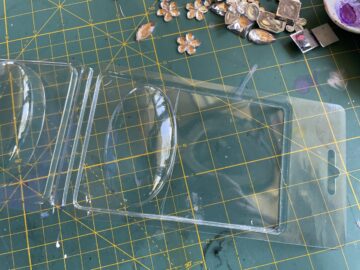
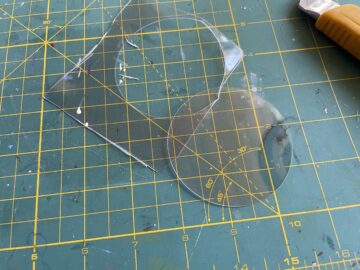
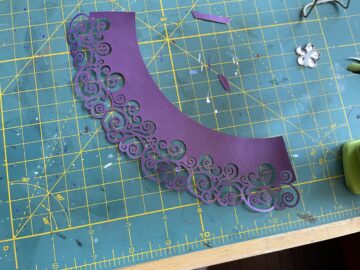
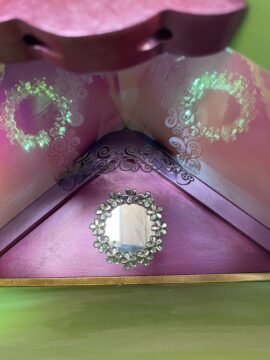
I then turned back to the round window problem. I used some plastic packaging and cut a circle a bit larger than the window. Then, using wee plastic gems, I made a frame and then hot-glued the entire thing in place. Finally, using a bit of paper stock that long ago was wrapped around a small cupcake, I made a little ceiling accent.
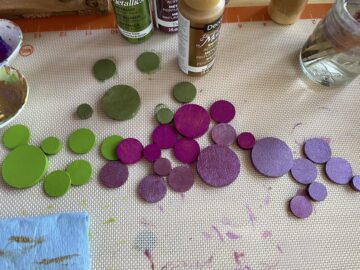
It was then back to working on the exterior. Long ago Agent Smith gave me a bunch of small roundish bits of wood from something or other. I dragged them out of my stash of random bits, painted them, then hot-glued them to the exterior to look like some weird sort of climbing vine.
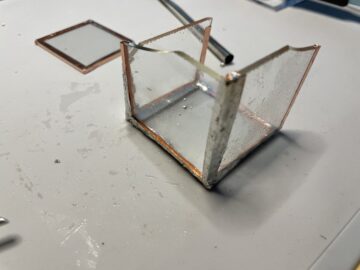
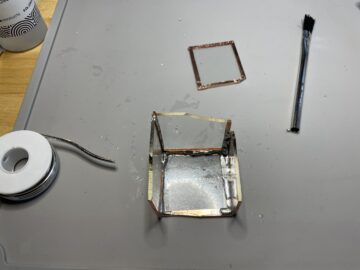
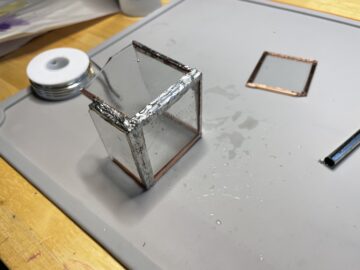
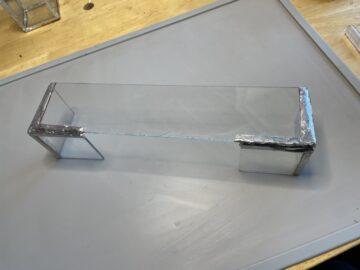
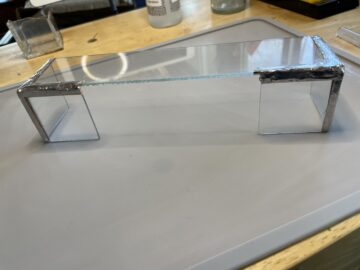
The final touches involved no painting; instead, I learned how to solder glass. Using more leftover panes of glass, I made some small glass tables to add extra storage space, while still allowing the viewer to see the entire contents of the house. First, though, I practiced by making a box from some mis-cuts.
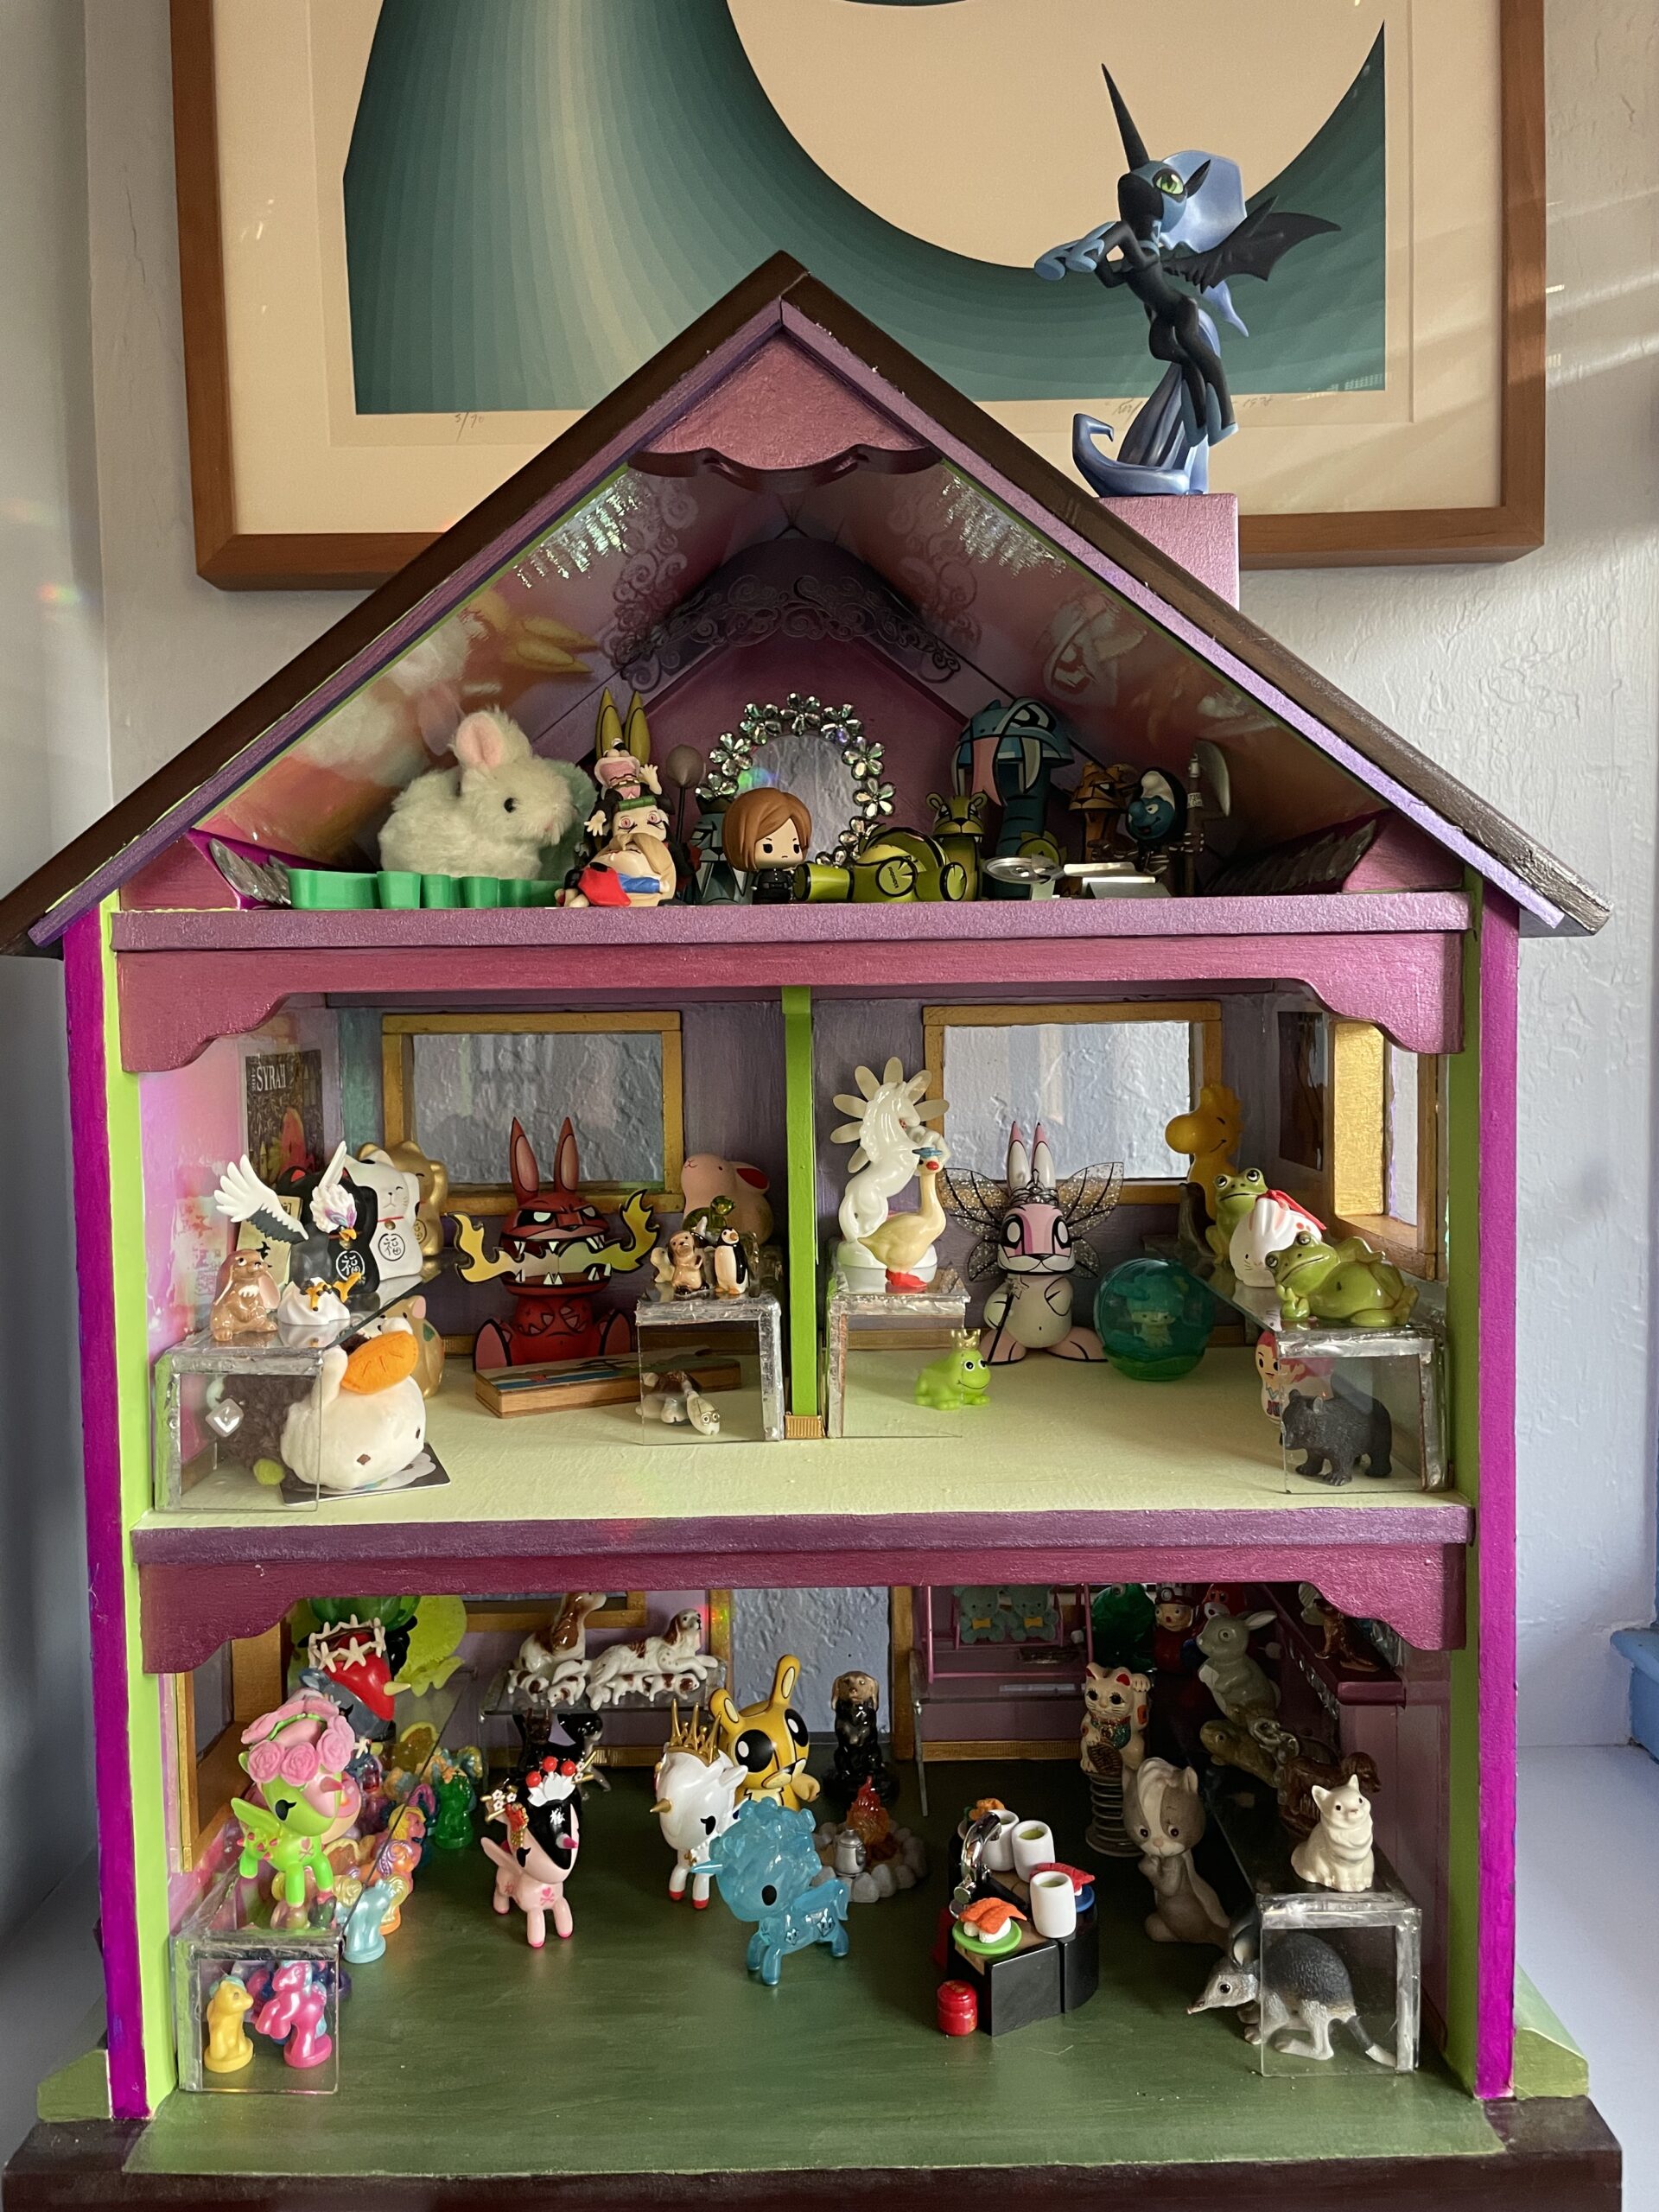
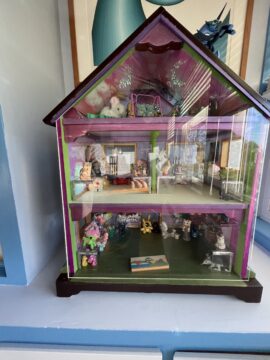
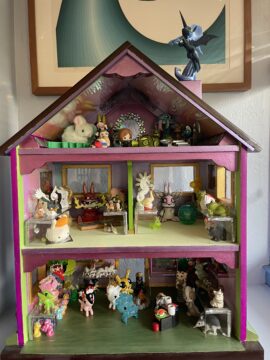
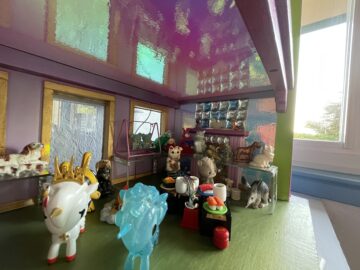
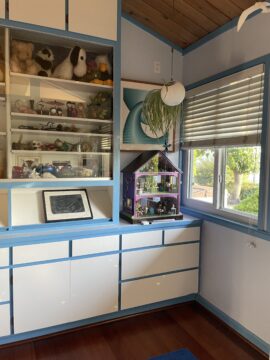
While I was learning to make weird little structures using glass, I went down to Tap Plastics and had them cut a piece of plexiglass to fit into the front of the wee doll house. With that and the glass windows, dusting is not a problem as the structure is fairly well-sealed. Once I picked up the sheet of plexiglass, all that was left was to move the house into the blue room and fill it with tchotchkes, most of which were once housed in the small plastic cabinets I removed from service in order to hang a Giraffe print a while back.
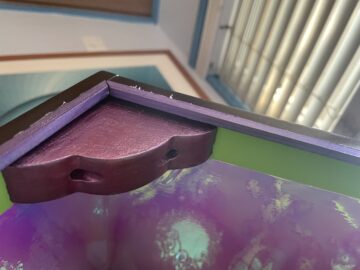
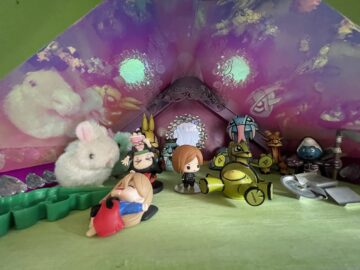
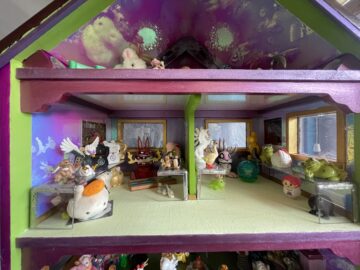
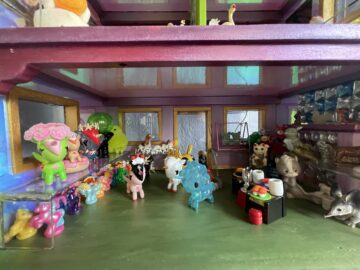
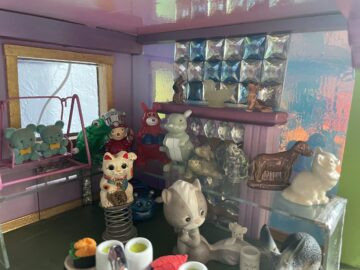
Here are some final shots, including one of the wee hidden rail crafted to hold the plexiglass in place, plus bonus shots of each floor filled with all the small knickknacks I own. I’m especially delighted with the bedazzled fireplace on the right side of the bottom floor.

