
When I said two posts ago that we took a break from finishing up the shed, that wasn’t exactly true. In December of last year we had the plumbers and electricians in to take care of a few things.
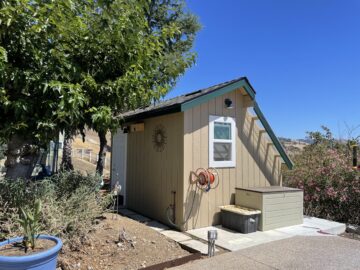
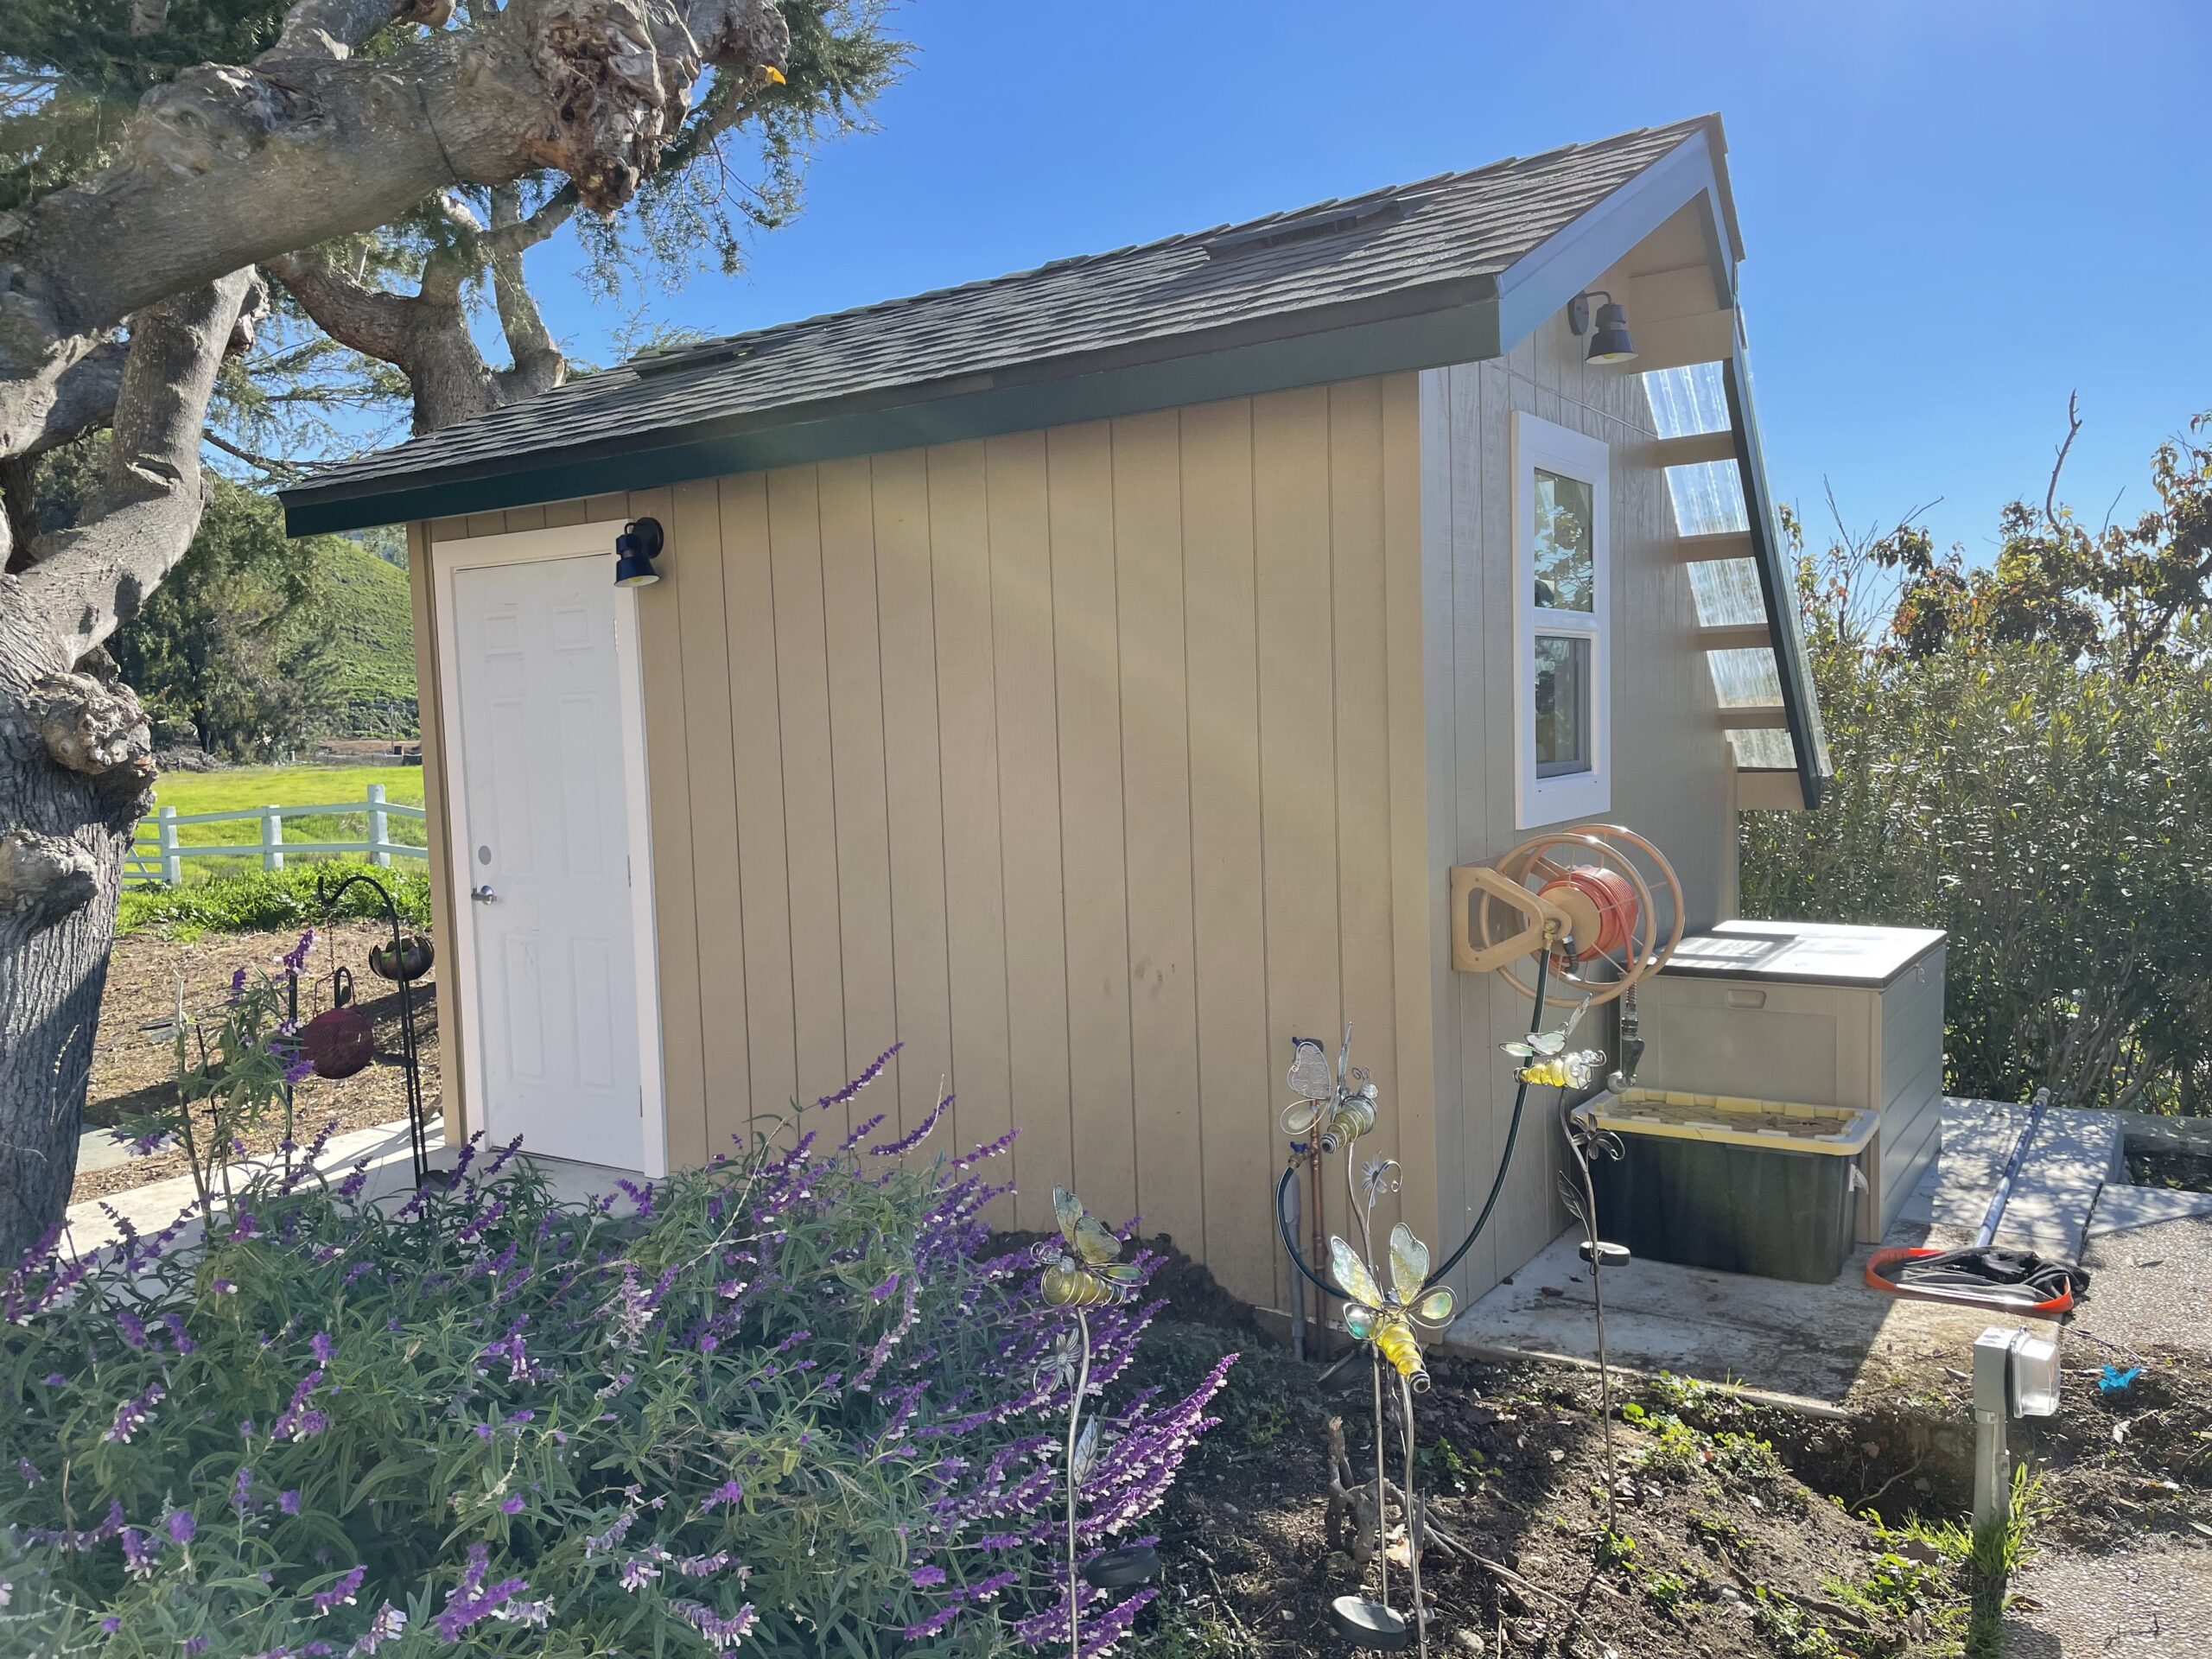
The electricians came in mid-December to put outlets on each wall and run wiring into the rafters so we could add an interior light. They also installed two round pans on the exterior wall so we could add some outside lights. Once that was done I went online and found two very simple but cute outdoor shielded lights. When they arrived, Agent Smith wired them up. Then he grabbed a spare LED panel from the stack he bought for the garage and put that inside the shed as a nice bright overhead light source. The electricians had wired the light receptacles to a set of switches just inside the door, and at some point we might stick a couple smart bulbs in the outside lights, as right now, if I’m working in the shed at night and go to walk back to the house, it can be very, very dark. I have a few solar garden lights to help stake out the path towards the house, but even those aren’t always enough.
While we worked on the wiring, the plumbers came back and extended the run they’d installed so it terminated at the building and set me up with two exterior taps, one for a hose and an extra for “whatever.” They ran a pipe into the shed and set up a simple tap to which I could attach a hose, then plumbed in the utility sink and fitted a proper faucet to it.
The end result made the new building very utilitarian.


But wait, there’s more!
I ordered another one of those super handy hose reels like the one we put out in the central courtyard, and before Agent Smith got the cladding installed, he put in a few bits of 2×4 to provide a reinforced area in the wall upon which to mount the reel from the outside. Of course I couldn’t find the handle for the reel, so we 3D-printed a new one…only to find the original one in the junk drawer a few days later.
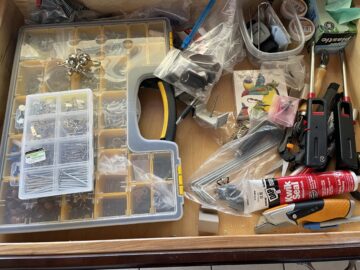
Do you too have a junk drawer? You know, a drawer (most likely in your kitchen) where random household stuff gets stored? Ours is below. I try to keep it somewhat organized, but don’t always succeed–hence I misplace things like the handle for the new reel.
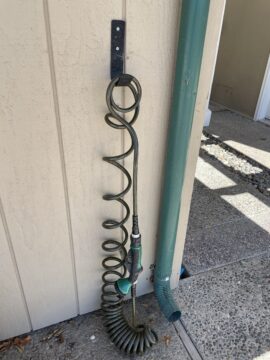
Because there’s such a long hose on the reel on the side of the shed, we finally found a better solution for the hose on the wall outside the kitchen. There was no good solution to tidy up that hose that didn’t involve another reel, but the chances of someone cutting that corner and running into it were pretty high. We have the nice long hose out by the shed and generally only use the hose near the kitchen to clean things right near that tap, like the kitchen recycle bin or an empty bucket of pool chemicals.
In the end we went with a very simple solution: a shorter hose, one of those coiling, slinky-like ones to be exact. Now the spot is very tidy.

But back to the shed details. Once the electrical and plumbing were done, a few extra exterior bits were sorted.
I didn’t want soil to pile up along the back wall of the shed, so I finally found a use for the leftover coping stones that had been sitting over by the pool pump since we had the pool resurfaced. Our gardener tamped things flat, inserted a section of pressure-treated wood, and set the pavers into place alongside the back wall. Later I pounded in a nice metal garden border. (I used EverEdge from Kinsman.) The end result is a nice, tiny area that can be used as a shortcut.
I didn’t stop there though! The bare dirt where the POs’ old manky shed once stood also got an enclosing border, thanks to our gardener. The compost stuff was then moved from behind the sports court to this location. I also ordered a nice big deck box, which fits snugly up against the west wall of the shed. We toss pool things into it, as it can hold a lot of stuff, which makes for a tidy space…which makes for a happy stega.
Here are pics of the reel, pavers, borders and new compost area. I took the last shot today of the fully finished and in-use shed exterior.