
When we moved in, six tiles on the pool balcony were loose and the previous owners had left them for us. With everything else going on, we didn’t have a chance to get them put back in place, and even if we had, it may not have saved us much.
Fast forward to last month when we opened the pool and started getting it ready for use, and all tiles across the entire deck were coming loose. When we opened up the cover, we’d end up with a few in the water and we could hear the tinkling sound of others falling into the roller cavity. I made some calls, got a quote and picked out new tile, and last week things were made pretty.
Because we have a motorized cover, a crew from Pool Covers Inc. came out to remove the cover completely from the pool. Once the roller cavity was more exposed, we cleaned out all the old tiles that had fallen in, as well as leaves and other debris.
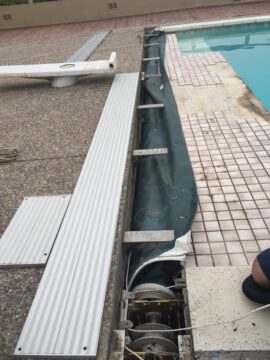
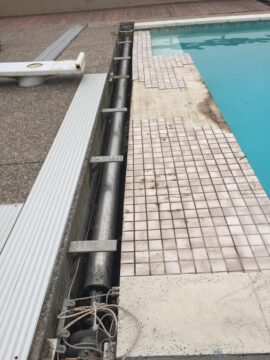

Two days later, Genie Pools sent out a guy (the same one who did our pool electrical panel last autumn) to handle the tiles. He started by removing the rest of the old tiles and prepping the balcony.
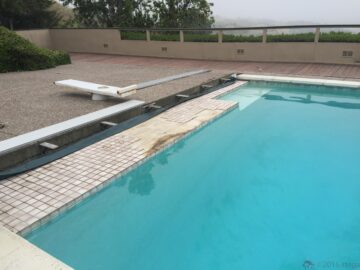
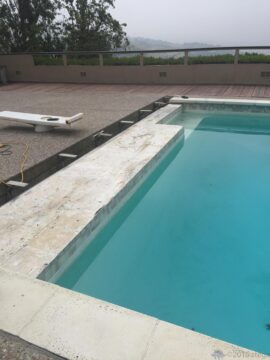
You can see that the water level is quite low. We drained quite a bit of the water because the balcony sits lower than the rest of the pool edge, and providing a good, dry work space was key. We used a super low-tech but efficient method to drain the pool: a 1/2″ tube weighted down with one end in the roller cavity (there is a drain at the far end to handle run off when you open the pool cover), and the other end dipped into the pool just to the level to which we wished to drain down. That way, it just stopped siphoning once we emptied out the amount we wanted. No worrying about checking a pump’s progress. Go go gravity.
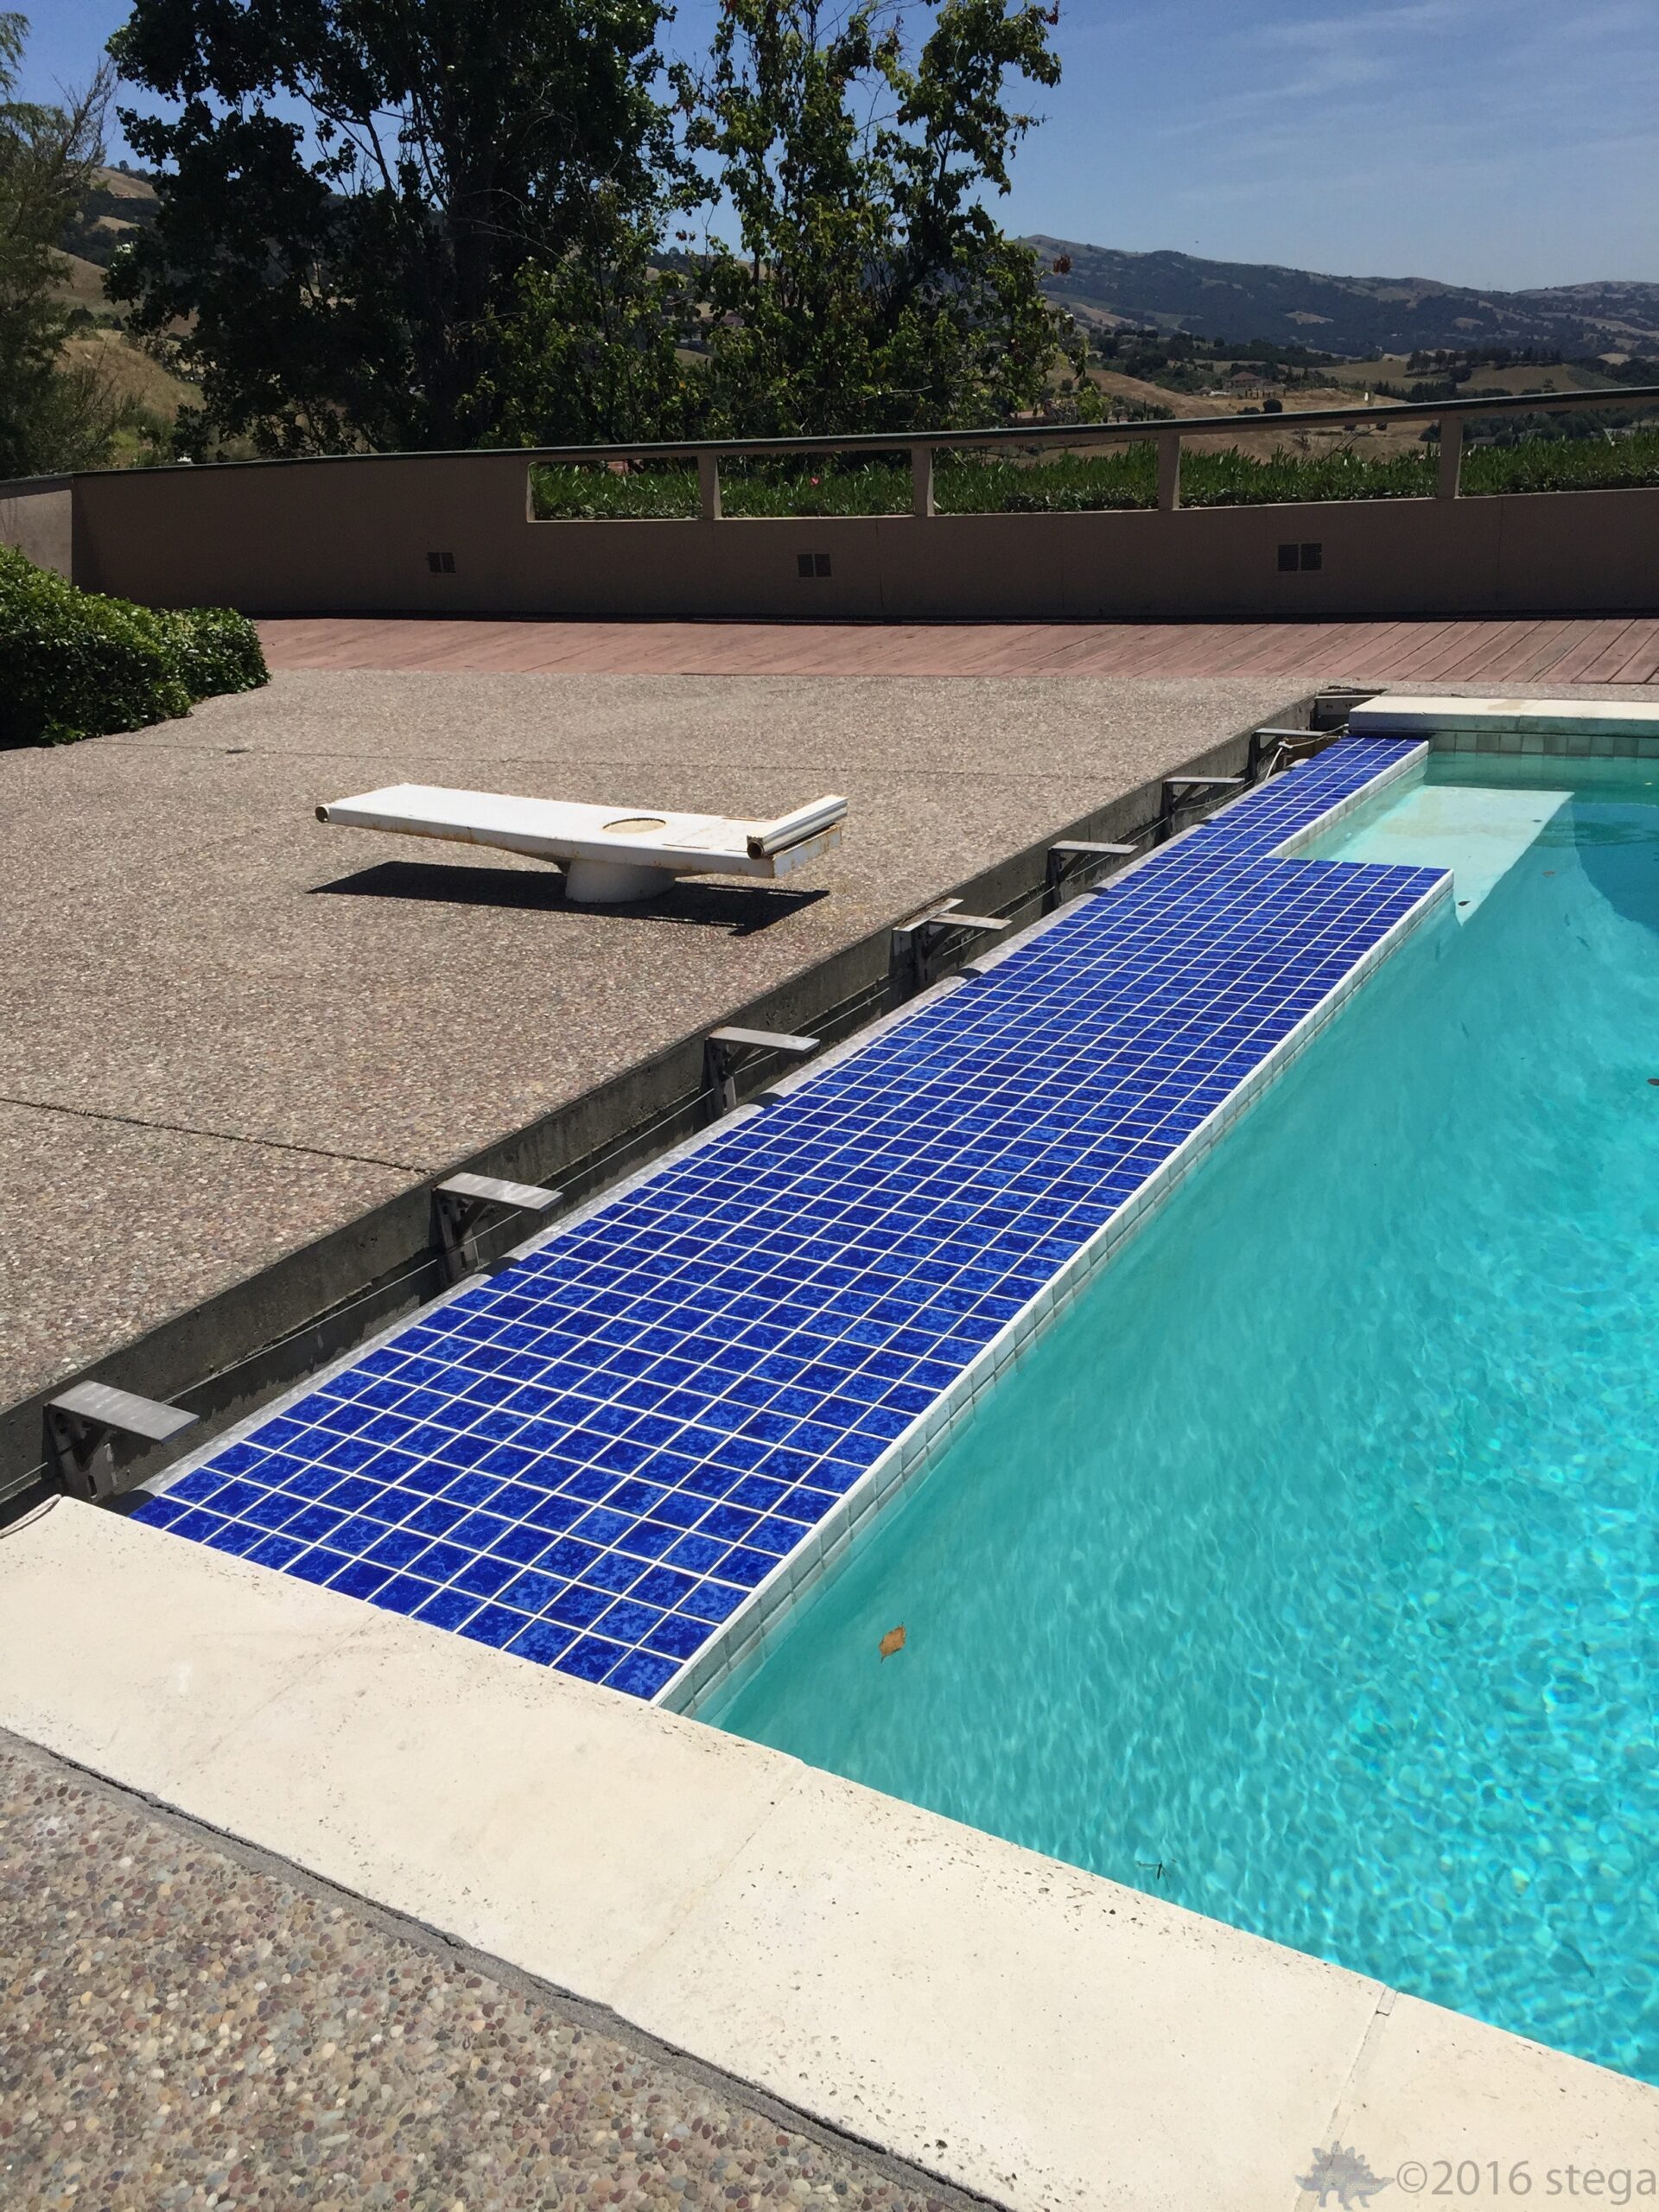
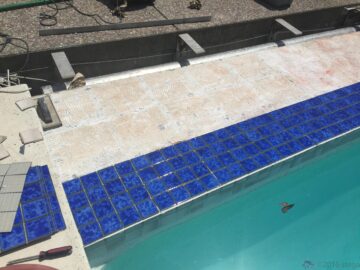
As you can see, we went with a pretty dark blue tile from National Pool Tile. They’re 2×2 and came in sheets of 16, which makes working with them easier than laying each one by hand. We originally were interested in an iridescent look, but then we found that those tiles were not only twice as expensive but also made of glass, so they’re more prone to popping out of place and cracking.
It took close to a full day as the technician had to go back to the office to pick up more tiles, but the results are very pretty. You can also see that the roller cavity was not done perfectly straight, so the technician had to fiddle quite a bit with the back edge to get the tile to fit properly and cover the space.

This winter we have grand plans for the pool. As the average lifespan for the plaster on the bottom of a pool is 25 years and ours should soon be redone, we will have the remaining off-white border tile replaced to match the new balcony tile at that time. I also found out that painting lines on the pool bottom would not be as permanent as putting in tile, so we will use tiles to create a giant asterisk along the pool bottom. Why an asterisk you ask? I swim corner to corner when working out, and right now I use a rope weighted down with heavy metal nuts. Our pool sweep does not like said rope, so I have to put the rope down before and take it up after every swim.
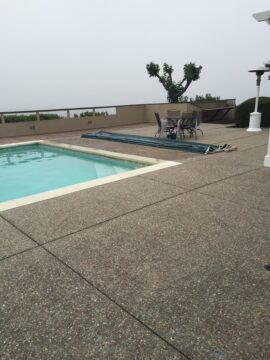
All that remains now is getting the cover put back in place. Sadly Pool Covers Inc. is really busy this time of year, so the soonest date they gave me was June 1. A tiny bit of haranguing on my part got it moved up to May 26. We’re crossing our fingers we get bumped up again.