
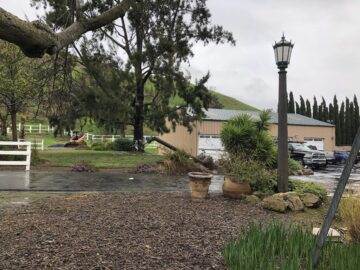
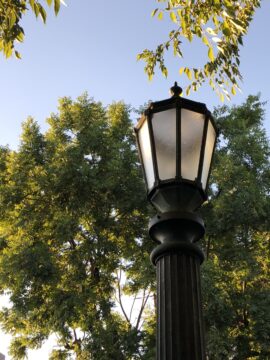
Back in 2019 a storm did quite a bit of damage, including toppling one of the ancient streetlights that sit around the edge of the courtyard. Shortly after the storm, we had new steel rods put inside the columns of each of the lights that ring the courtyard. But the toppled light stayed without a lantern for several years. Turns out there was more to fixing it than just putting it back on top of the pole. Both it and its mate across the entrance from the driveway to the courtyard did not have glass panes in the long sections. Before we bought the place, the glass had been removed and replaced with flimsy sheets of plastic. Every sheet in the light that toppled was lost or damaged by the storm, so we decided to put in glass instead. The problem with that idea was that, unlike the other three lights, we did not have any sort of template with which to work.

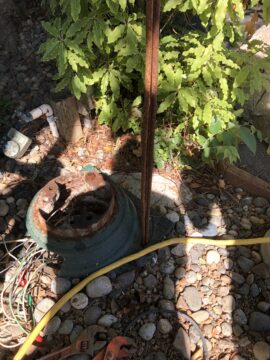
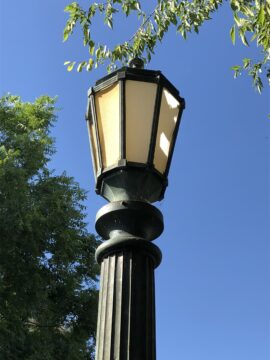
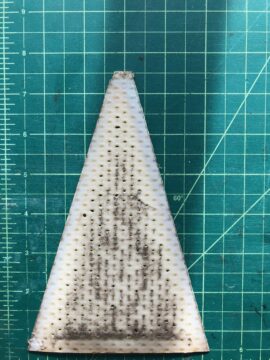
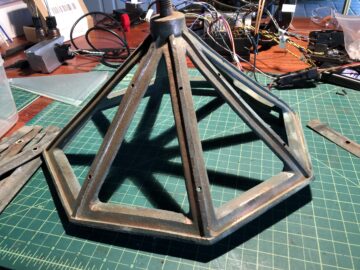
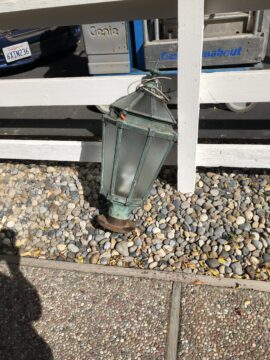
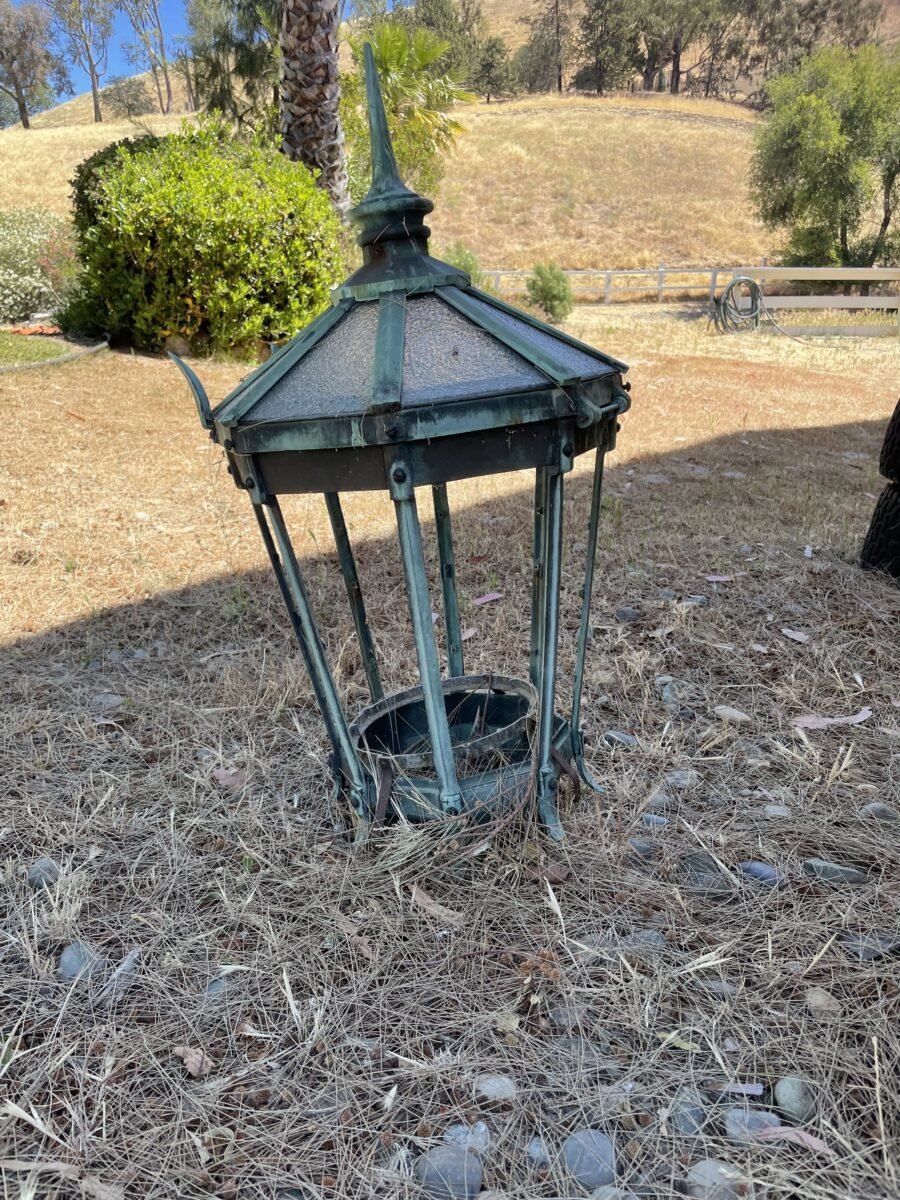
So the shell sat outside, next to the garage. About two years later, we finally made a template using some cardboard. At first, I thought I would be able to use our tile saw to cut panes of 3/32″ thick glass and then coat the panes with paint to make them opaque, but 3/32″ is way too thin when one wants to cut fancy angles, and after several failed attempts I gave up. I then found a glass shop down in the valley that had the same sort of glass (1/4″ etched) that we had used in the other three lights. I gave them my template and one of the undamaged top panes, and soon enough I had new panes.
And then, of course, the project got put on the back burner. I spent about eight months thinking I had goofed with the templates and would have to trim them like we did with the panes for the other three. There was also the issue of sealing or not sealing the panes in some way–was it necessary? And if so how would that be done?
Finally though, I decided to get off my butt and sort the project out. I messed about with some black caulk strip material but that was tedious, messy and didn’t leave enough space for the panes to fit. After cleaning up all the caulk, I discovered that the panes, once all the screws were loosened up a bit, actually fit perfectly. Then it was just a matter of buying some simple weatherstripping (Medium-Density PVC Foam tape) and using it on just the top panes to keep water from dripping into the interior of the lights.


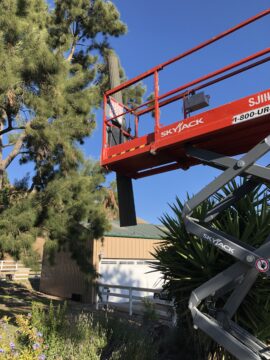
Once I had the broken light back together, I made a call to United Rentals in May of last year. Since the lights are a few feet from the edge of the driveway asphalt, our own little manliest could not safely handle the job, so I got a nice boom lift for a weekend and we made good use of it. A few other projects in the garage got sorted and in between that work, the now newly-paned light went back up on its post. Then its mate was brought down, cleaned, the old plastic and glass panes removed and the new panes fitted, and finally put back on its pole. While the pole that toppled is a tiny bit shorter than its mate, it is finally back up in working order.


But we didn’t stop there. Instead of using boring-old standard light bulbs in each of the lights, we decided to go smarter. I tried to set up Philips Hue bulbs, but as they want to mesh with other devices instead of connecting directly to a network, having them work properly and consistently proved impossible. We were working against the clock here, as we only had the weekend to get things up and working–come Monday the boom lift would be collected by United Rentals. So I did some very fast research and ordered some truly smart bulbs that are able to connect to a standard wireless network. The bulbs arrived Sunday morning (yay for Amazon Prime in this case), and after much, much swearing and twiddling of settings, I got them configured and added to HomeKit.
The bulbs we went with are from Meross and they have the ability to change color, so now you can do this! (You have to play the movie to see the results.)
With the courtyard lights finally all in working order, I went into HomeKit and adjusted our automations. Now the courtyard lights come on with the garage scones and a few lights in the house every night at dusk. Every night of the week they are a different color–light purple on Mondays and aqua on Thursdays, for example. A few hours later all but the garage scones shut off. It’s so cool.
Then in November I had to remove all the Meross bulbs and re-add them to the network when a firmware upgrade messed them up, but it was pretty easy as I had labeled everything. Then I had to do it all a third time when we rebuilt our entire smart home setup last month. This time, though, I added all the information for the courtyard lights and all the other smart bulbs and switches to our internal wiki. Yes, we have a wiki. It’s quite boring as it just holds random bits of house documentation like light bulb setup codes. At some point, maybe I’ll write about it and our entire smart home setup.