

A few months after we moved in, I posted about our kitchen sink. We have limited space to its right, so we purchased a small dishrack to make the best use of it. The rack worked well enough, but I decided to make even better use of the space, so back to Amazon.com I went and found a rack I could hang from the wall.
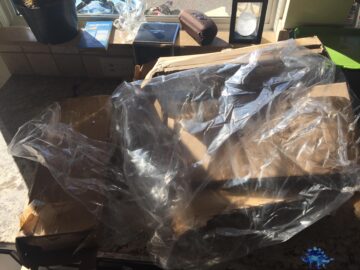
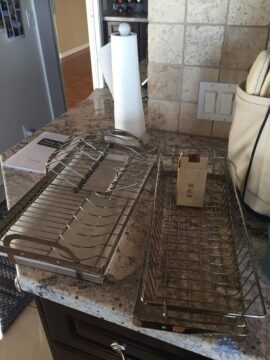
It arrived straight from the factory in China. Packing of such items always involves so much tape and plastic; still it assembled easily and was exactly what I saw in the product listing, so no complaints. The typos in the little manual were amusing–you can see one such in the last image.
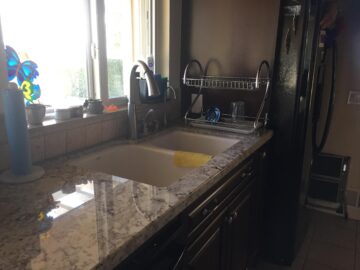
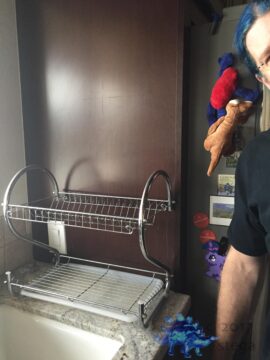
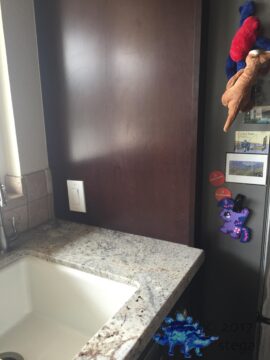
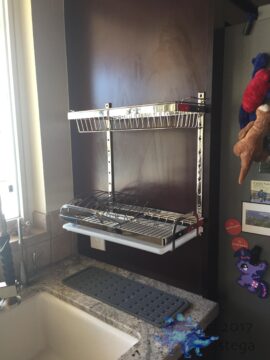
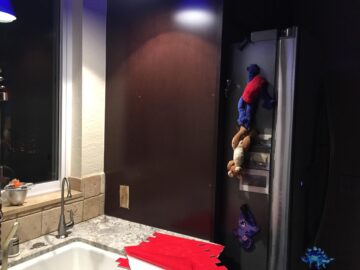
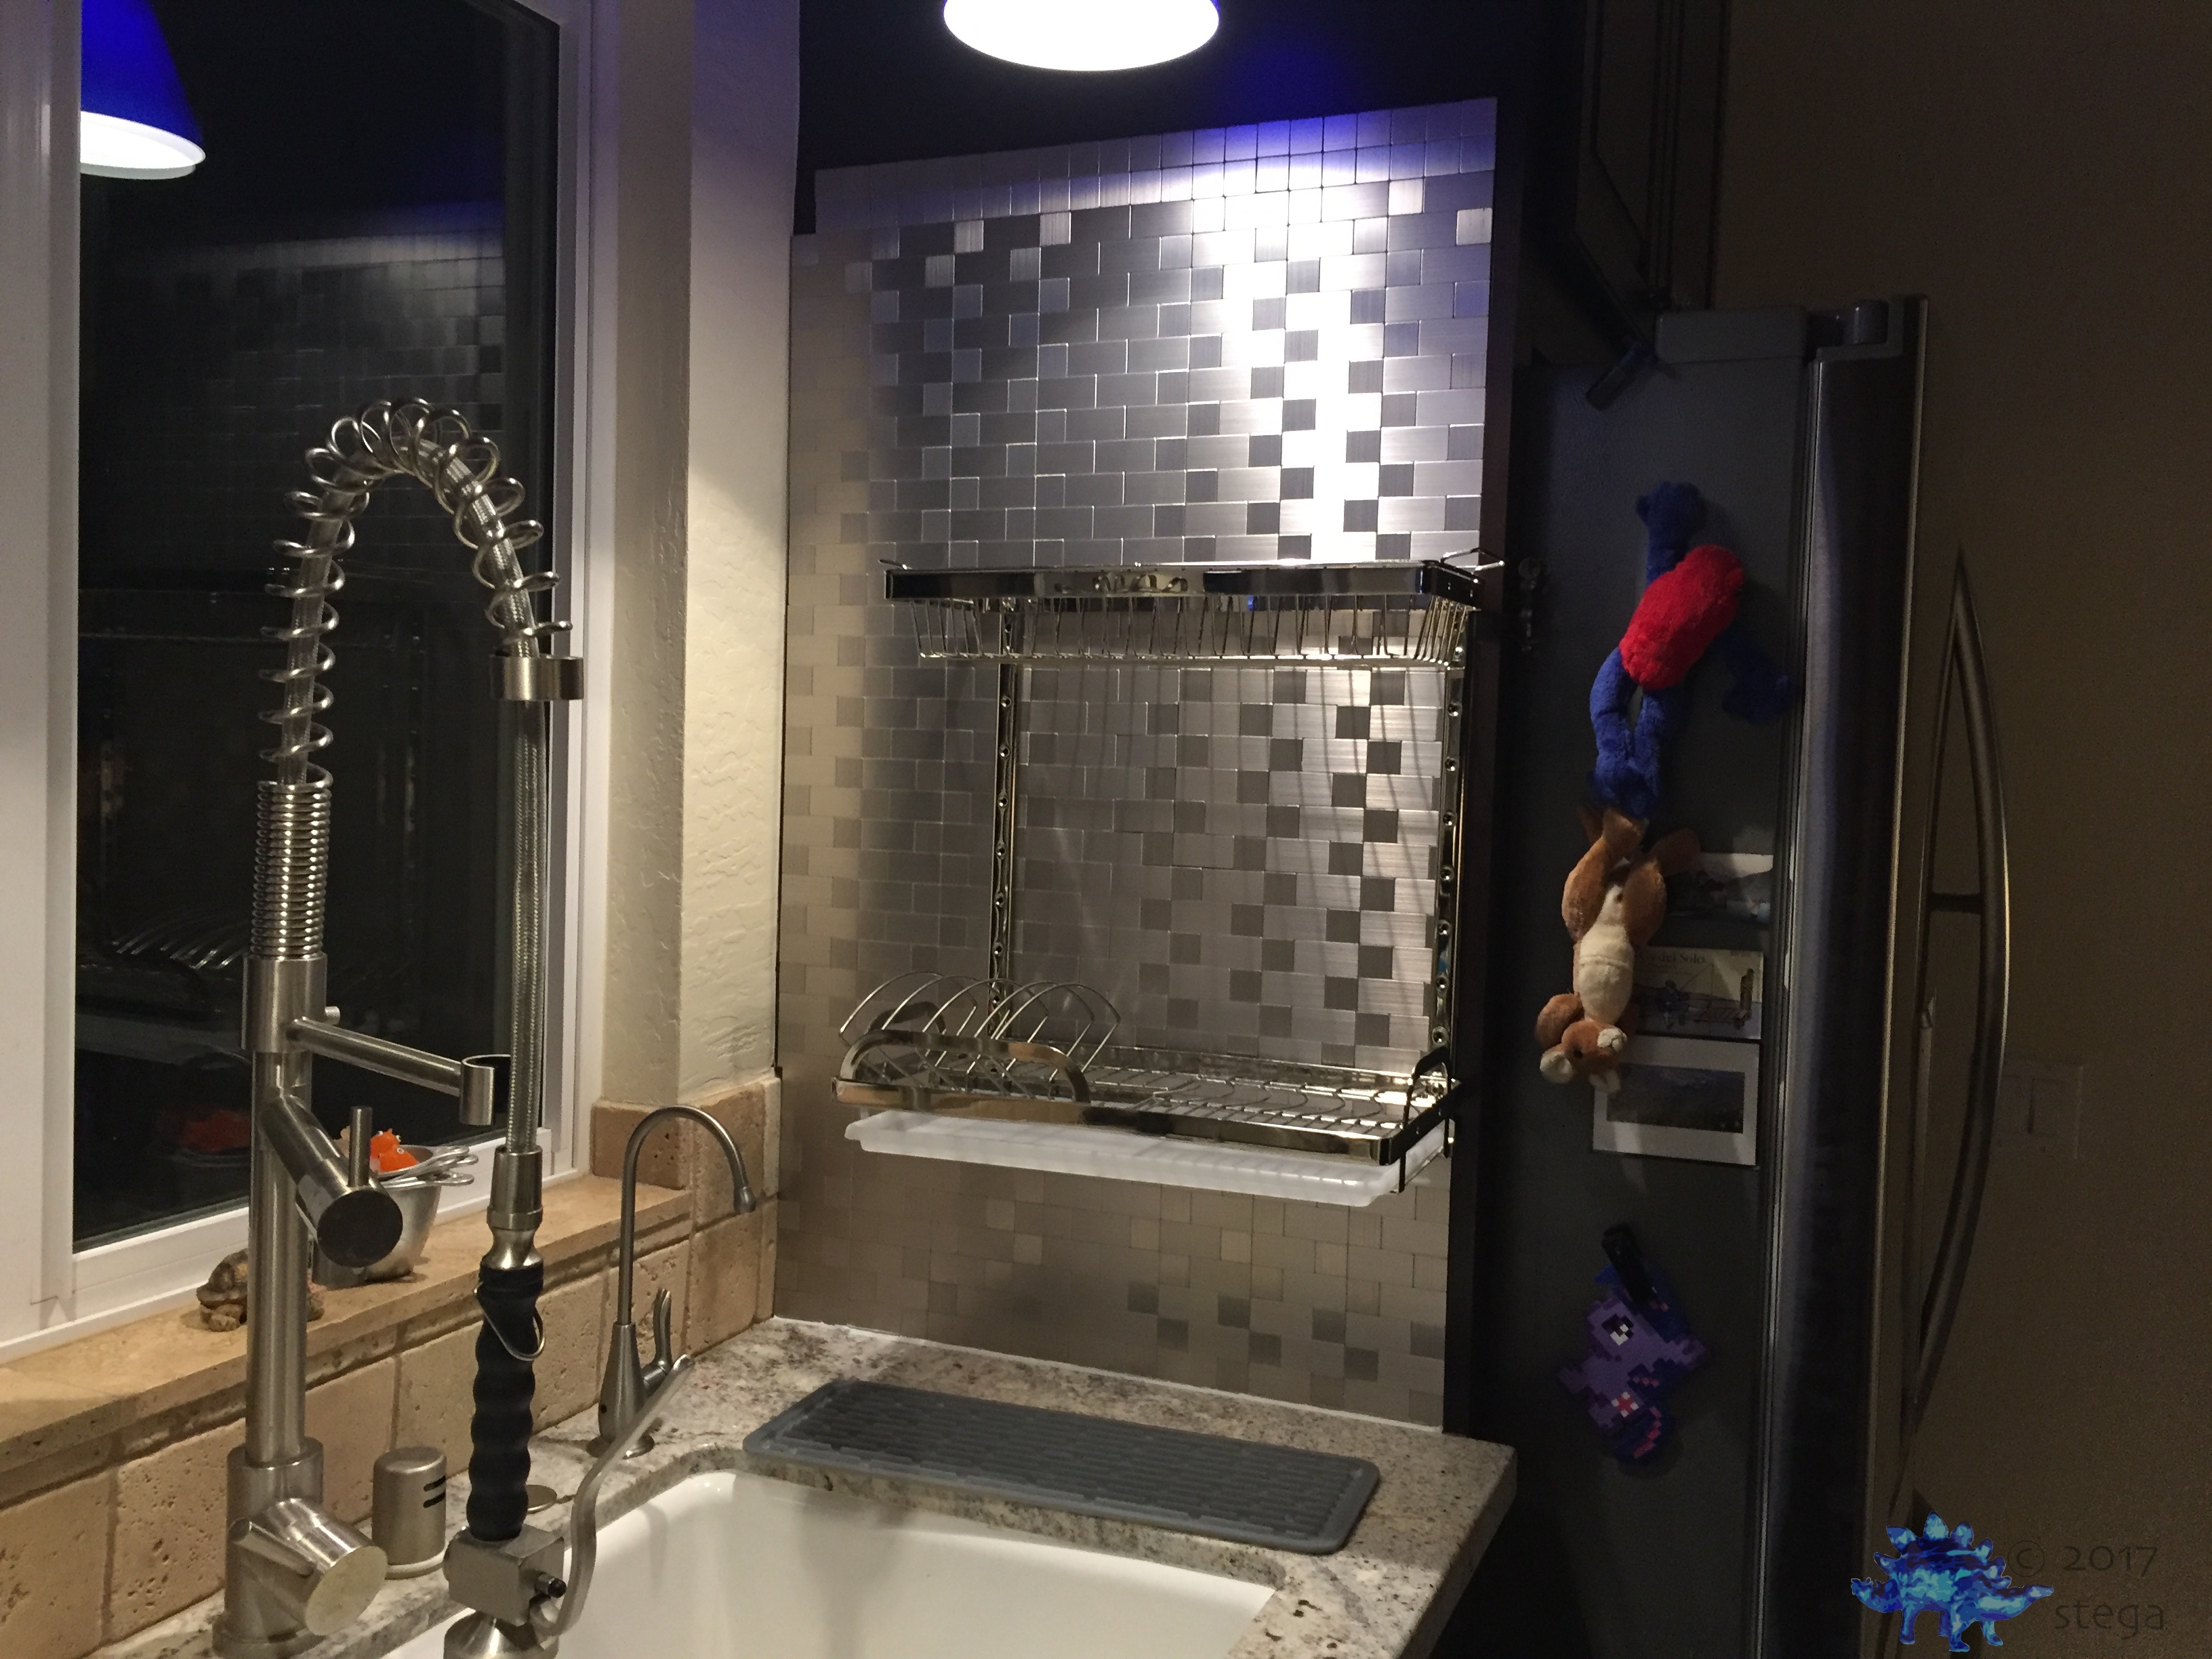
Installation was straightforward enough. Here are the before/afters.
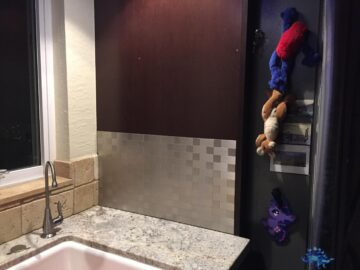
So that was last October, and while the new rack worked even better than the first, I still was not happy with the space. I started poking around on Amazon again and found the most wonderful thing: sticky tile. This is small sheets of tile you can attach to wall with minimal fuss and no grout. The tile can be cut and if you muck it up, you can fix your mistakes without too much effort.
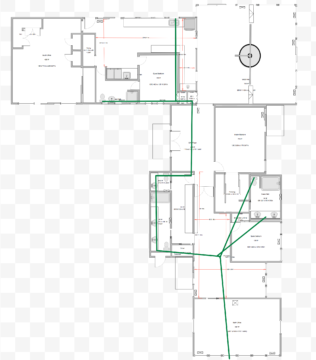
Complicating the tile install, though, was the garbage disposal switch, which you can see in the above before/after pics. Now the run for the kitchen sink drainpipe to the septic tank is about 80 feet, with multiple 90 degree turns because the crazy plumber who installed the drains in 1967 thought it was a great idea to have it work that way. The result is seen in our house floorplan, with the green line aspproximating where the drain lines lie under the house. It is not a pretty picture.
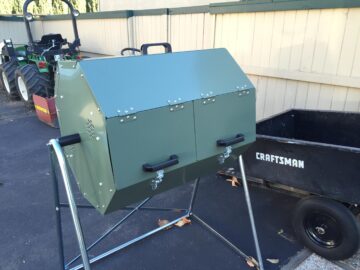
Which brings us back to the garbage disposal. Since moving in, we have managed to back up the kitchen sink twice as a result of using the disposal, and after the second time we simply stopped using the disposal–not a hardship really, as we are already using a small compost bin in the house and taking that out to our larger unit behind the sports court. Second pic is our large compost unit when it was relatively new and in the front courtyard.
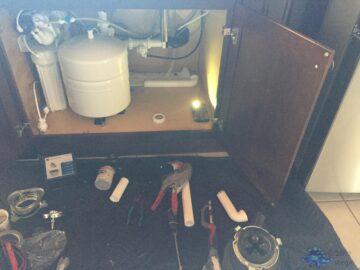
But I digress–back to the garbage disposal. After some discussion we decided to remove it (last pic), so when our new water heater cooked itself (more on that in an upcoming post), I had electricians in to diagnose things and while they were here, I had them disconnect the disposal switch. And when I had plumbers here to scope our crazy drainpipes to assess their condition, I had them remove the disposal.
I sealed the seam between the wall and counter and cleaned the wall. Agent Smith cut a small piece of wood to seal up the hole left from the outlet, and then I put up the tile. Here are some shots of the last bit of the work.
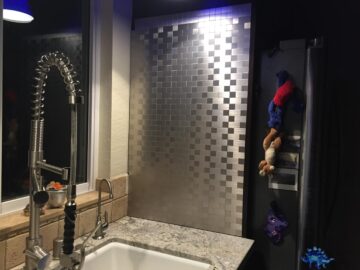

We’re quite happy with the setup as it makes the best use of the limited space.