Perhaps my favorite detail in the great room is the very subtle change in the molding. Backing up a bit to tell the story….
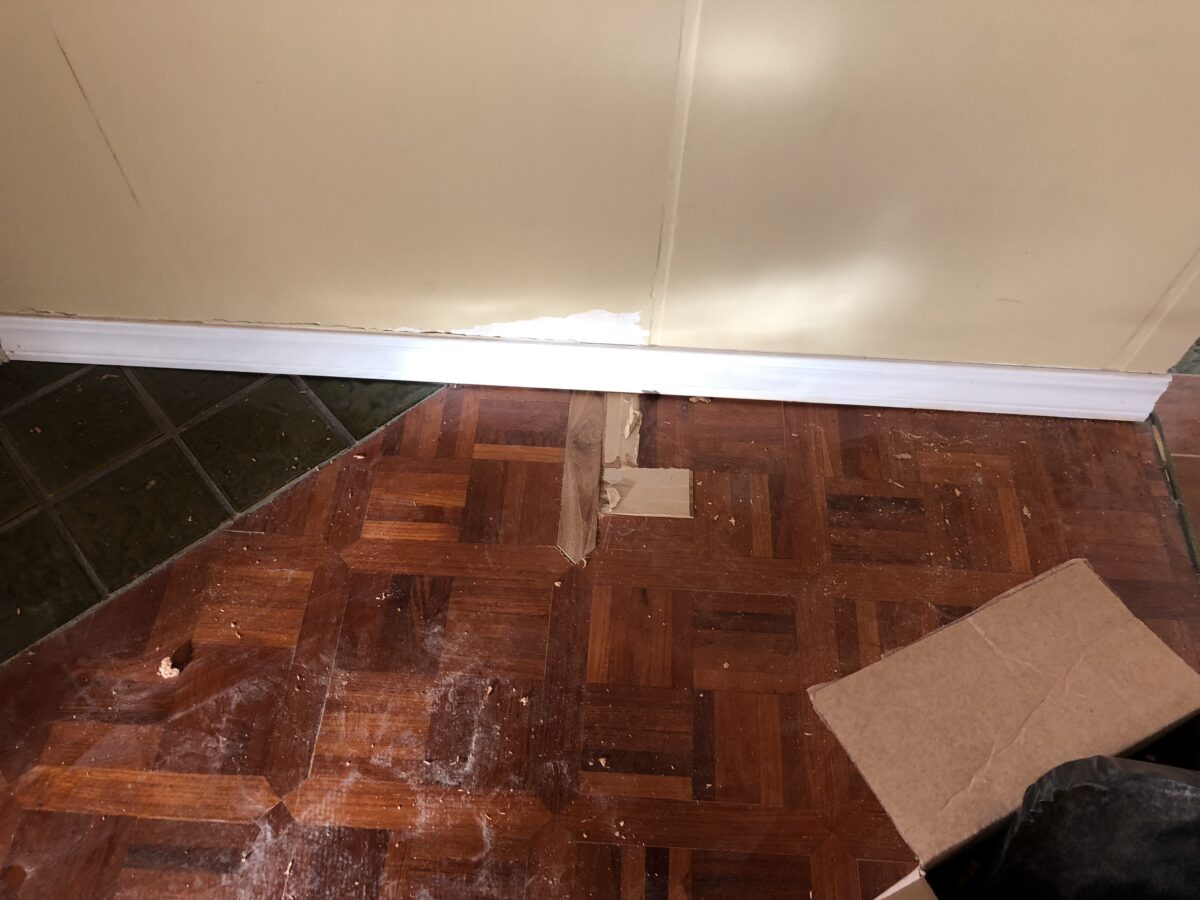

The POs had for some unfathomable reason (maybe they got the stuff cheap) used finger-jointed casing instead of actual floor molding in the great room and foyer. The stuff is normally used around door frames and is pretty flimsy stuff, so not only was it very thin compared to typical baseboard moldings, but it also didn’t match what existed in the rest of the house. On top of that, all those horizontal lines cluttered up the aesthetic, but then “cluttered’ seemed to be the POs design forte.
Fast forward to when the teak flooring was refinished. At the end of the job new molding was installed and I opted for simple throughout the north hall and alcove area of the foyer, but in the great room I went even simpler and went with the shoe.
As in shoe molding. I have no idea why it’s called that and I’m too sleepy right now to try to search the interwebs for the answer, but suffice to say shoe molding is a super thin and super simple bit of molding. Similar to quarter round, shoe is shorter or more “squat”.
Here’s what it looked like when the prep and priming was going on.
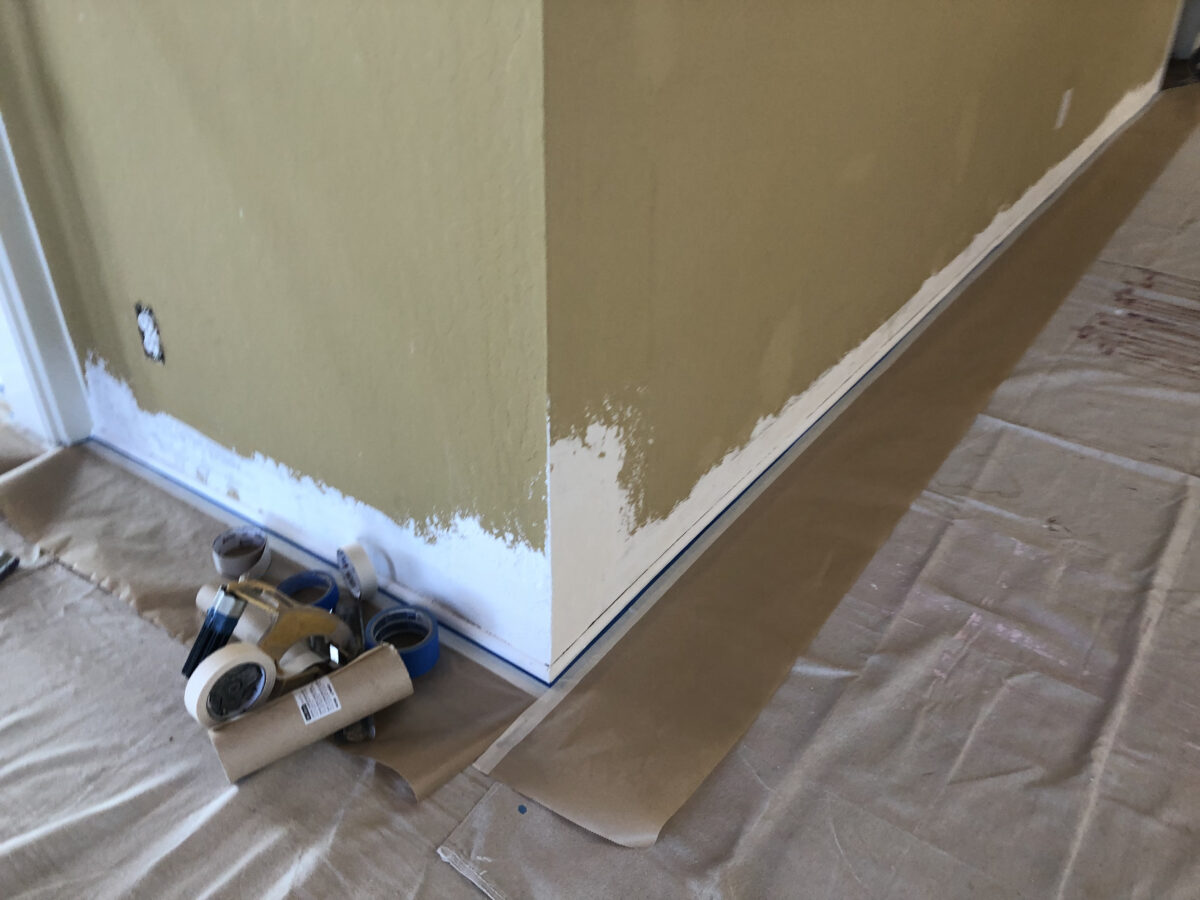
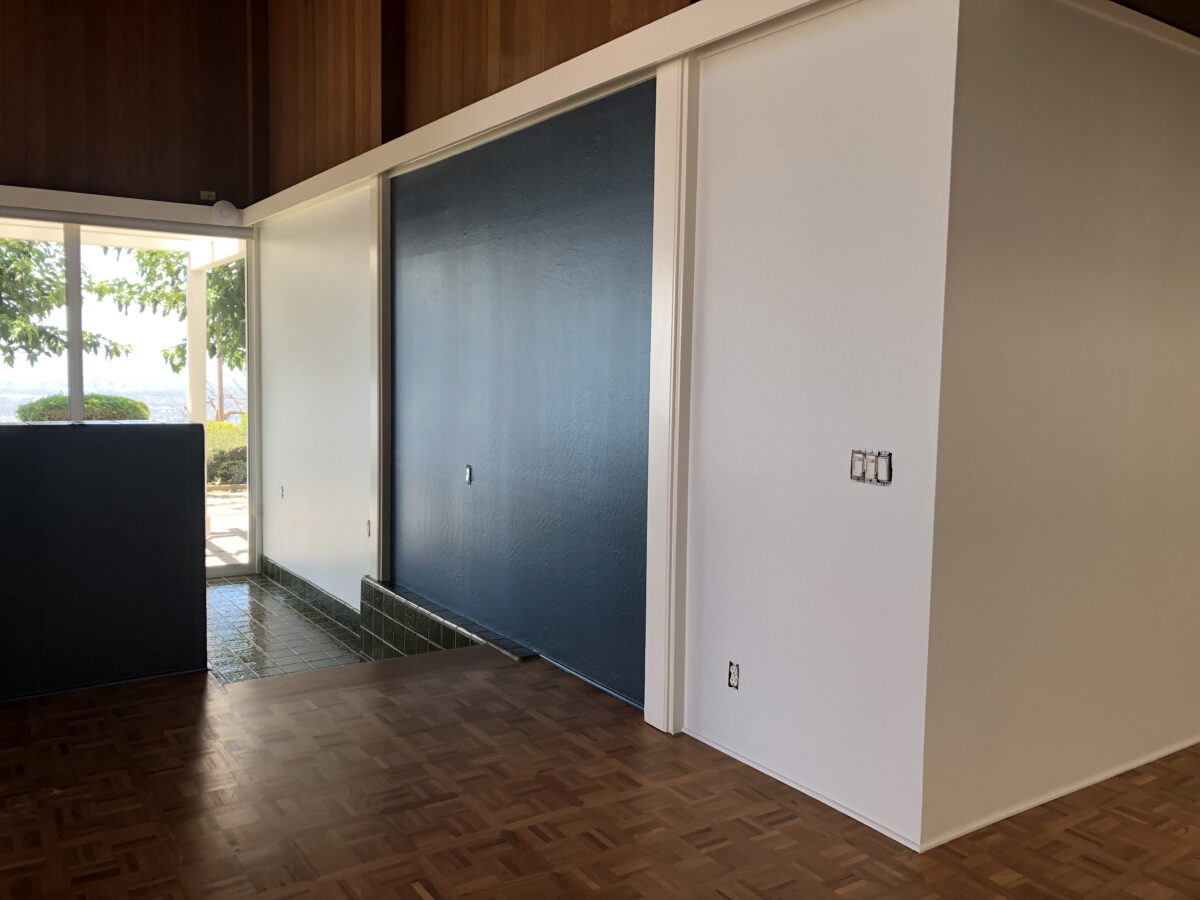
Way back when I was talking with the flooring crew about new molding options, I got the idea for how shoe molding would really aid in cleaning up the cluttered lines and boxiness of the space. The vision in my head for the “look” was instead of painting the floor molding in the great room white like the molding elsewhere in the house, it would instead be painted the same color as the walls. This would mean the walls would just melt into the floor.
So while the painters had painted all the trim around the windows and support pillars earlier (in between the exterior clean up and chimney strip down project,) finishing the shoe molding to match the walls actually made the prep and paint work a bit easier.
Once all the tape and masking papers were removed things looked just like I had imagined they would.
Here’s a pic showing what I mean:
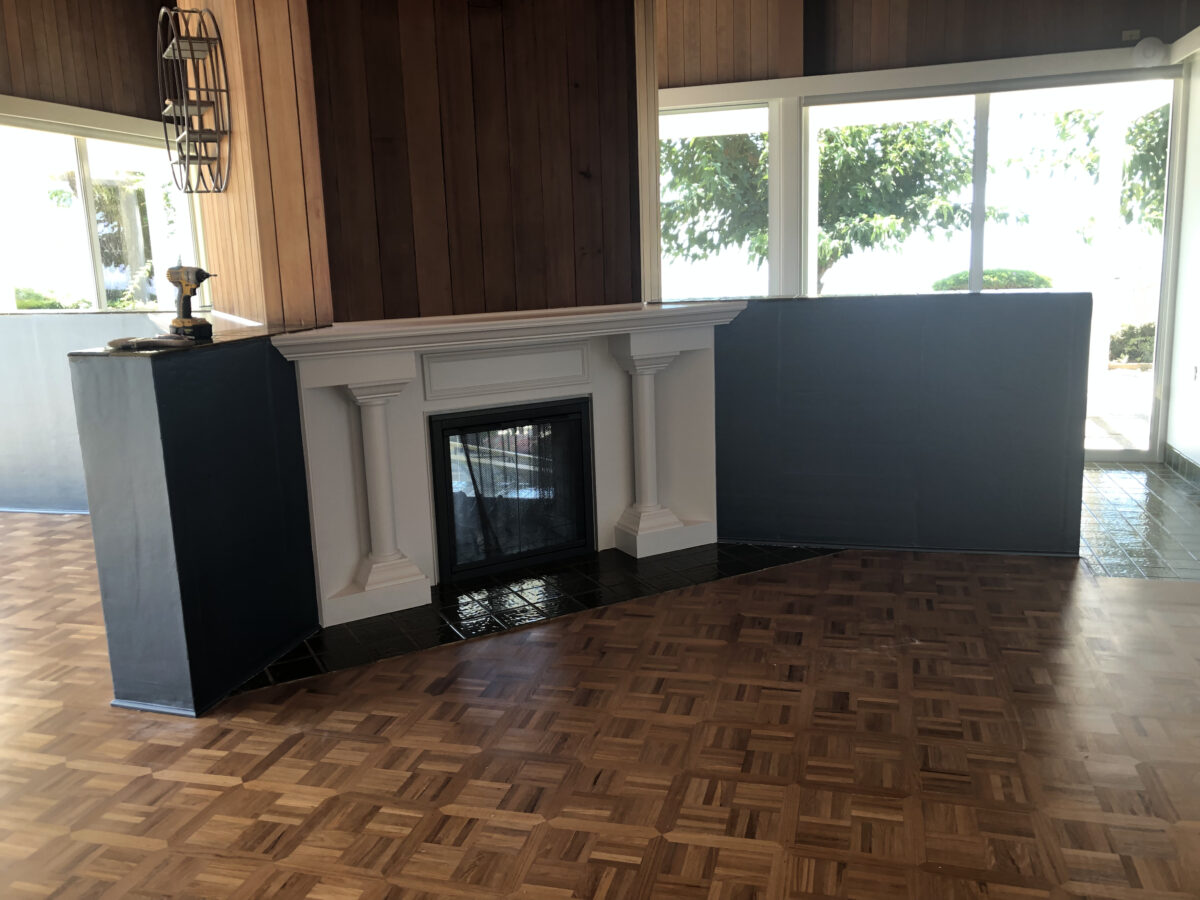
See…no more white lines between the walls and floor.
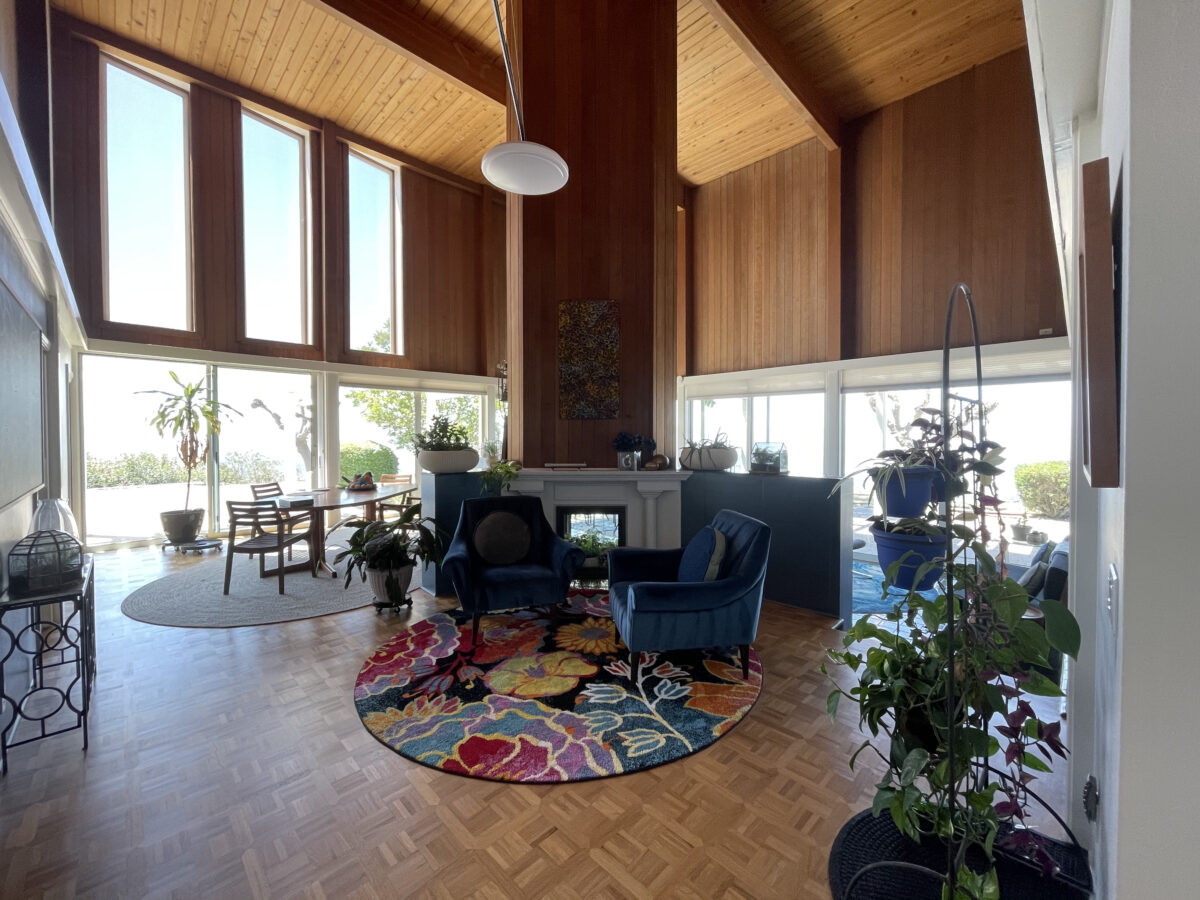
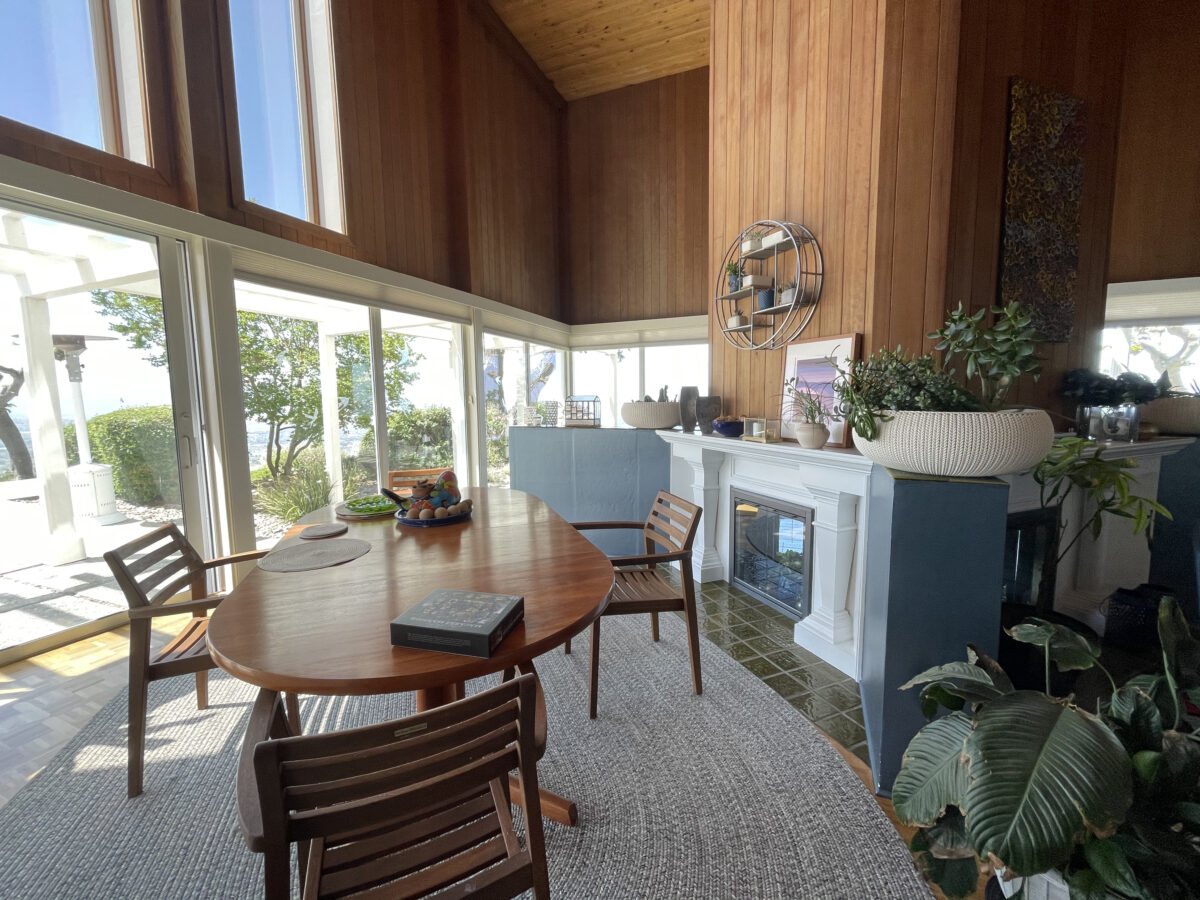
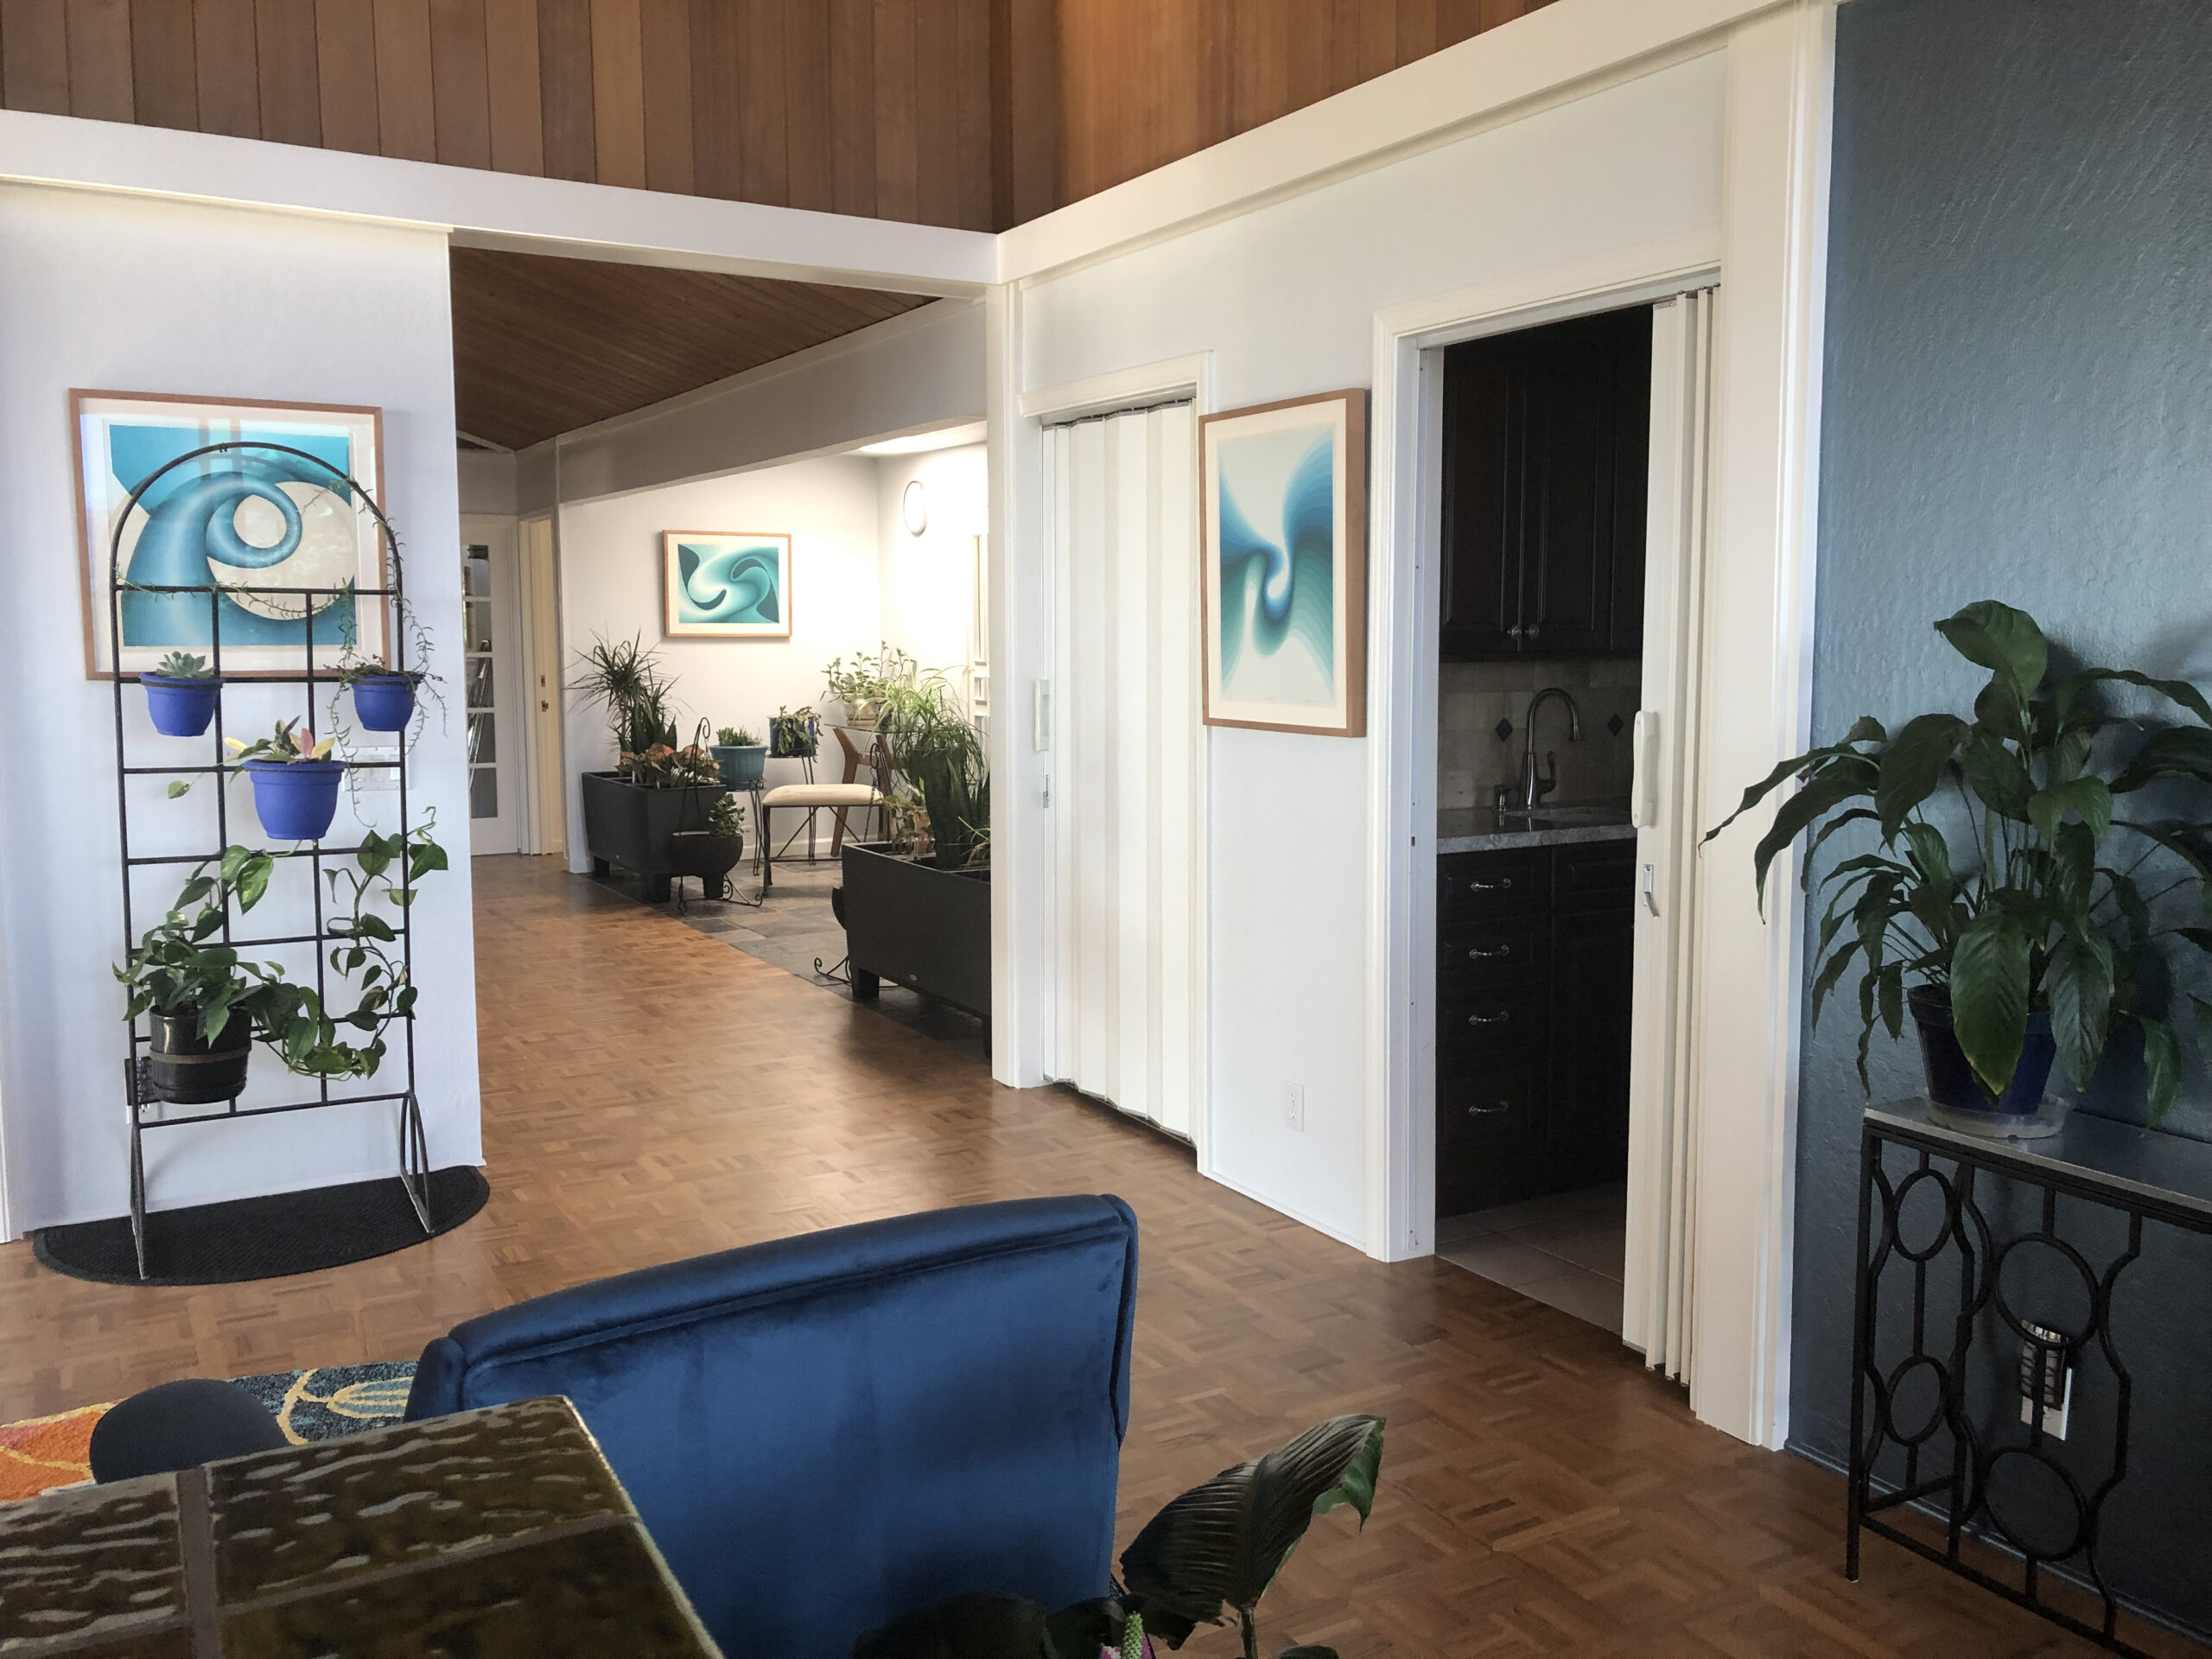
Here are more examples of how it all works in the finished space.

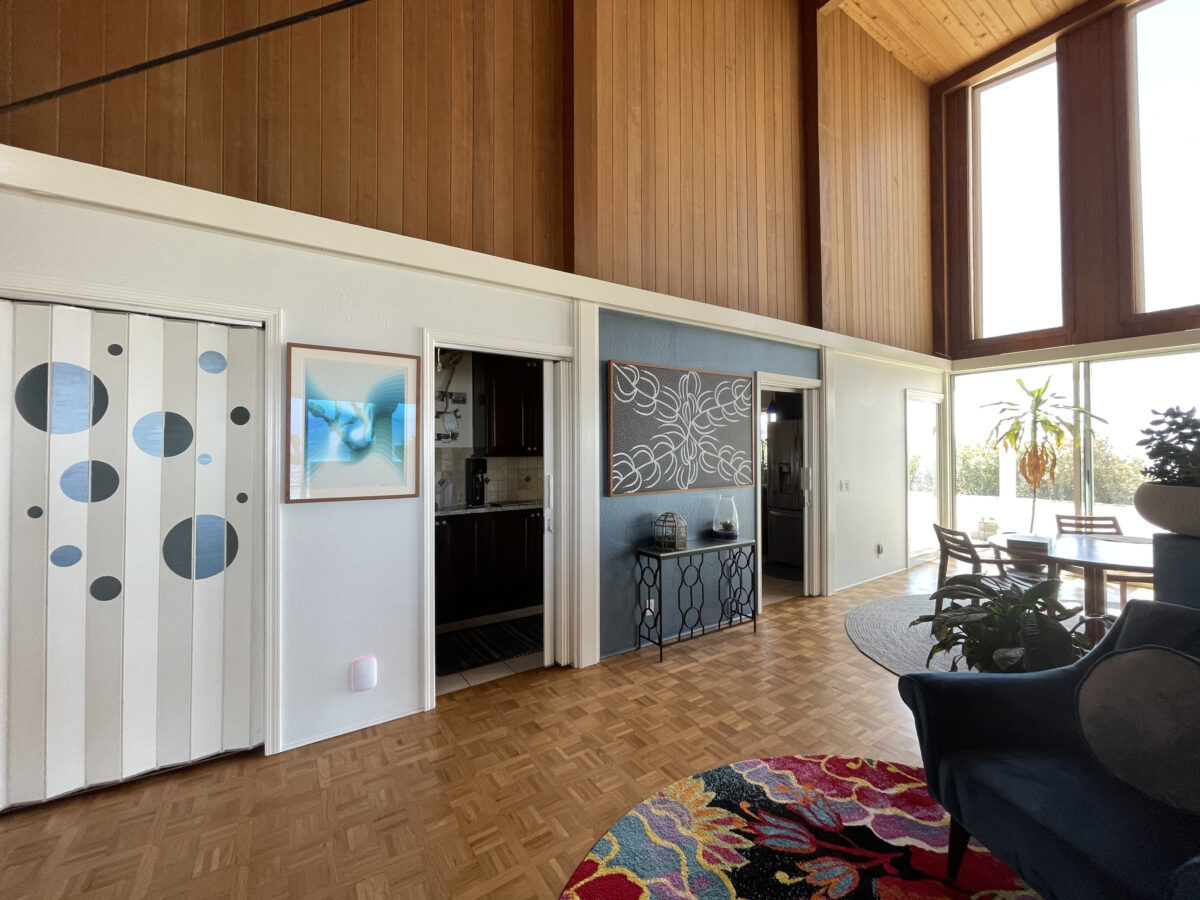
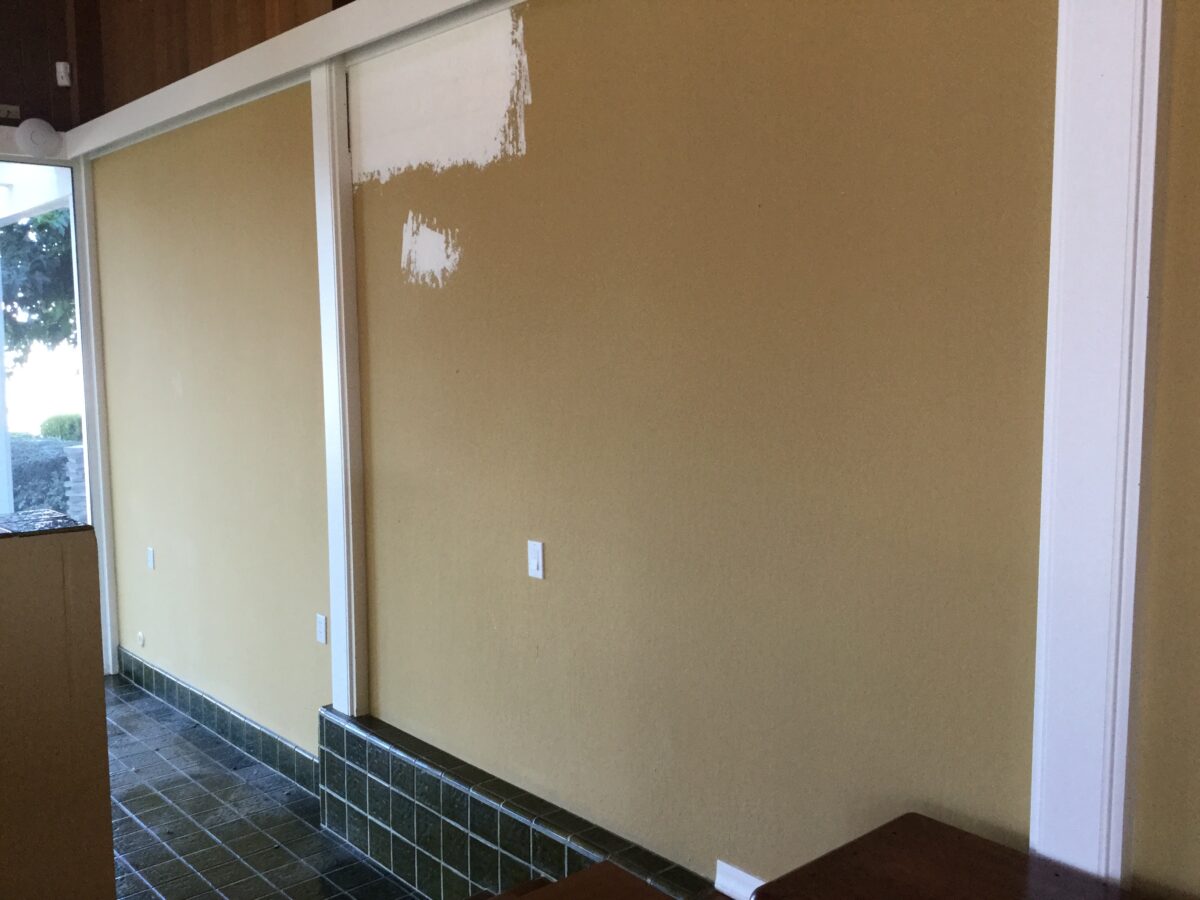
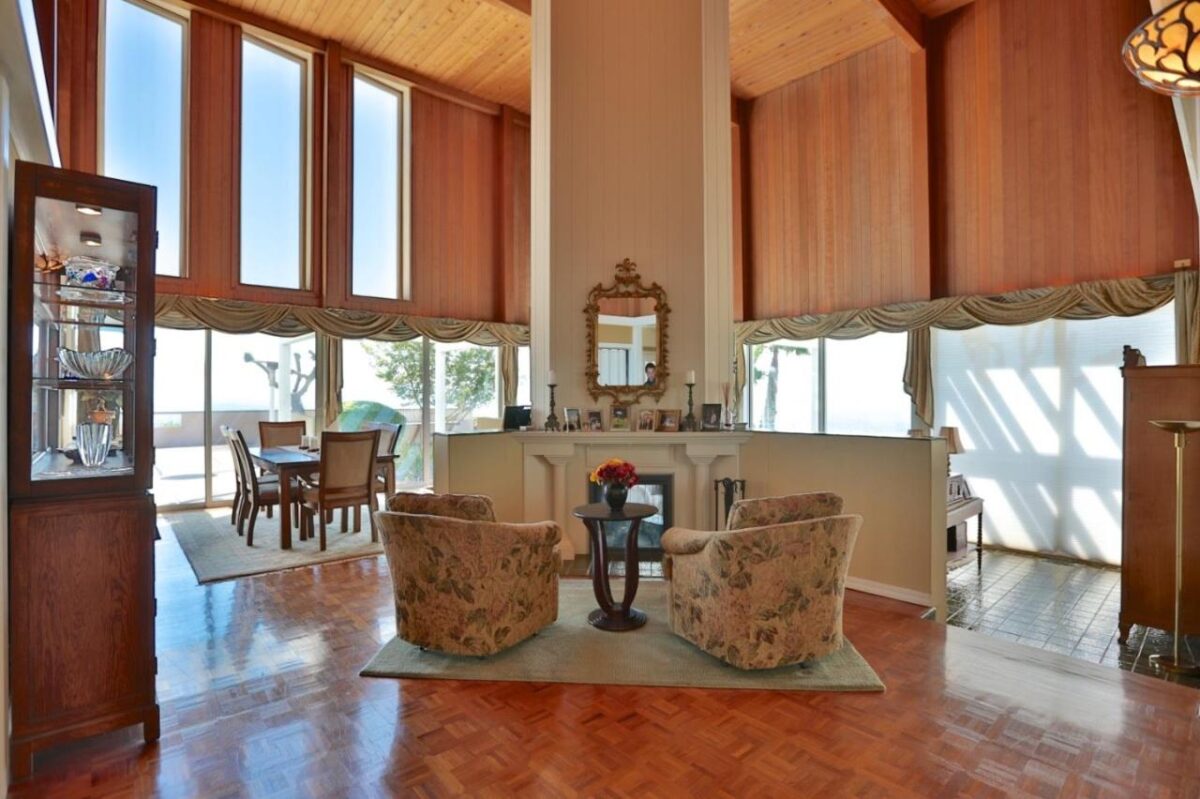
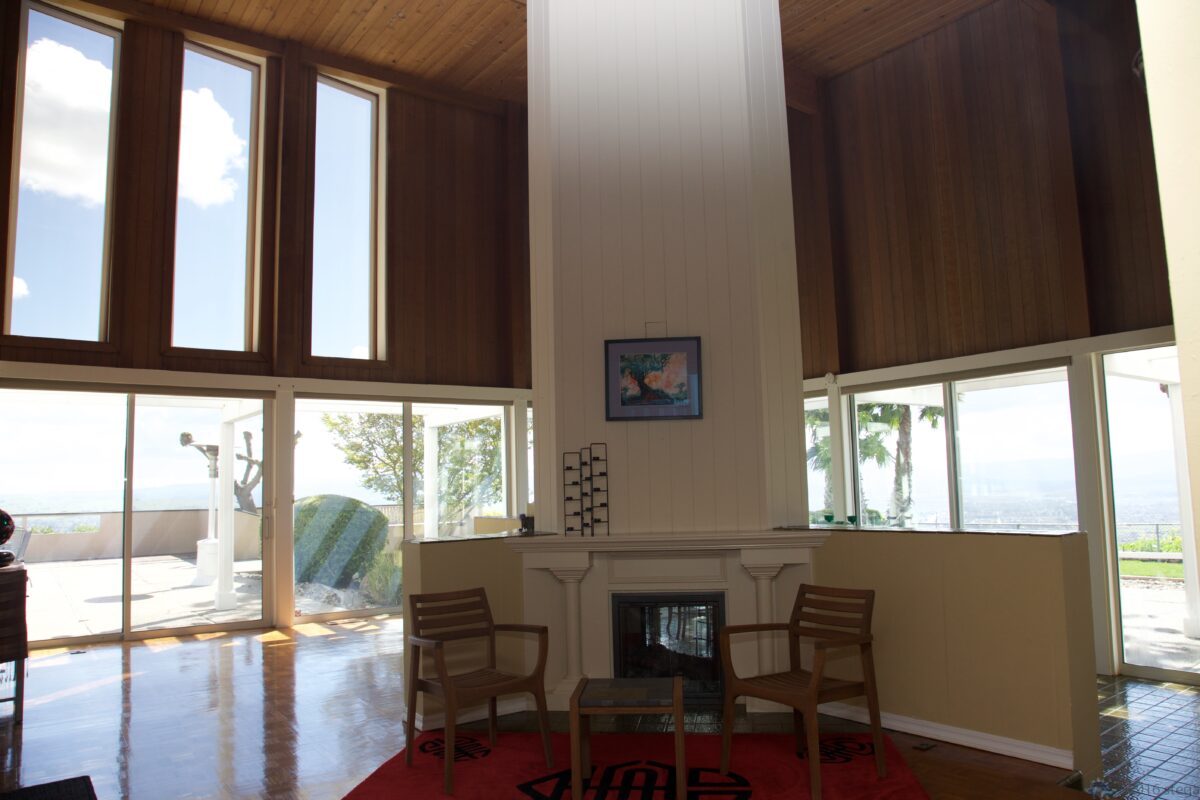
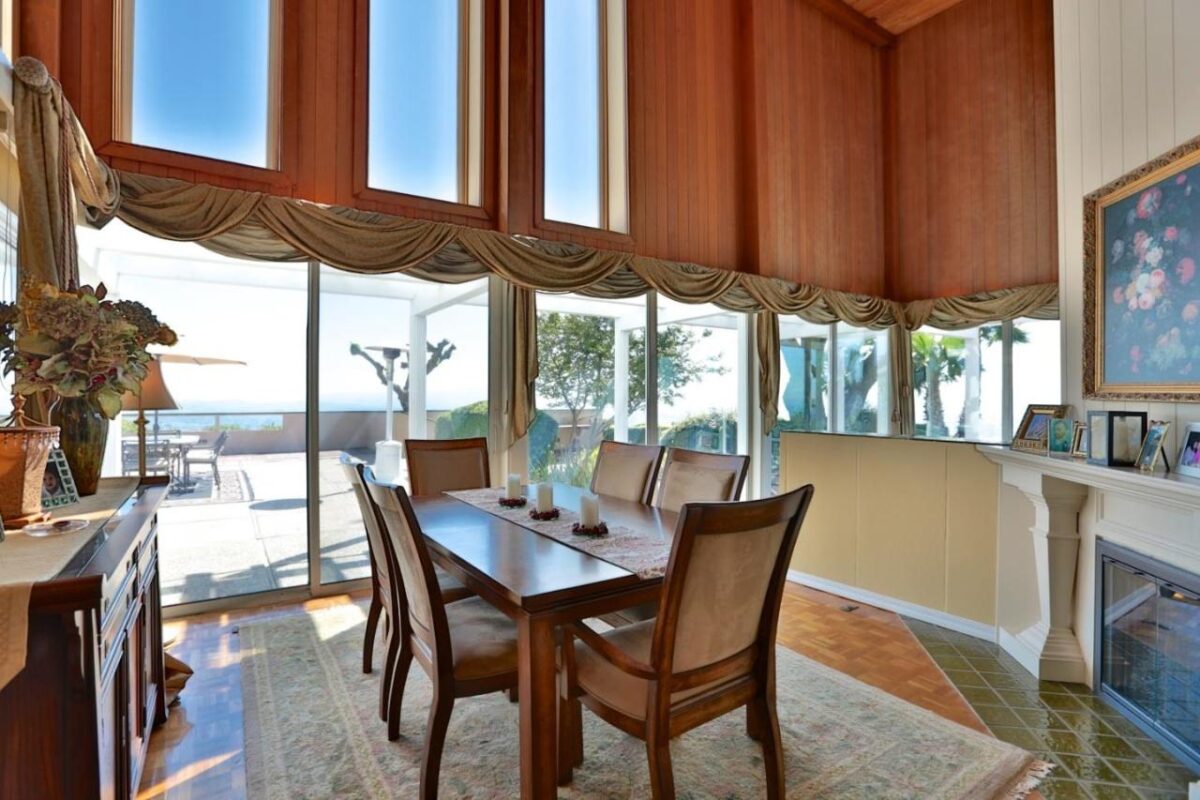
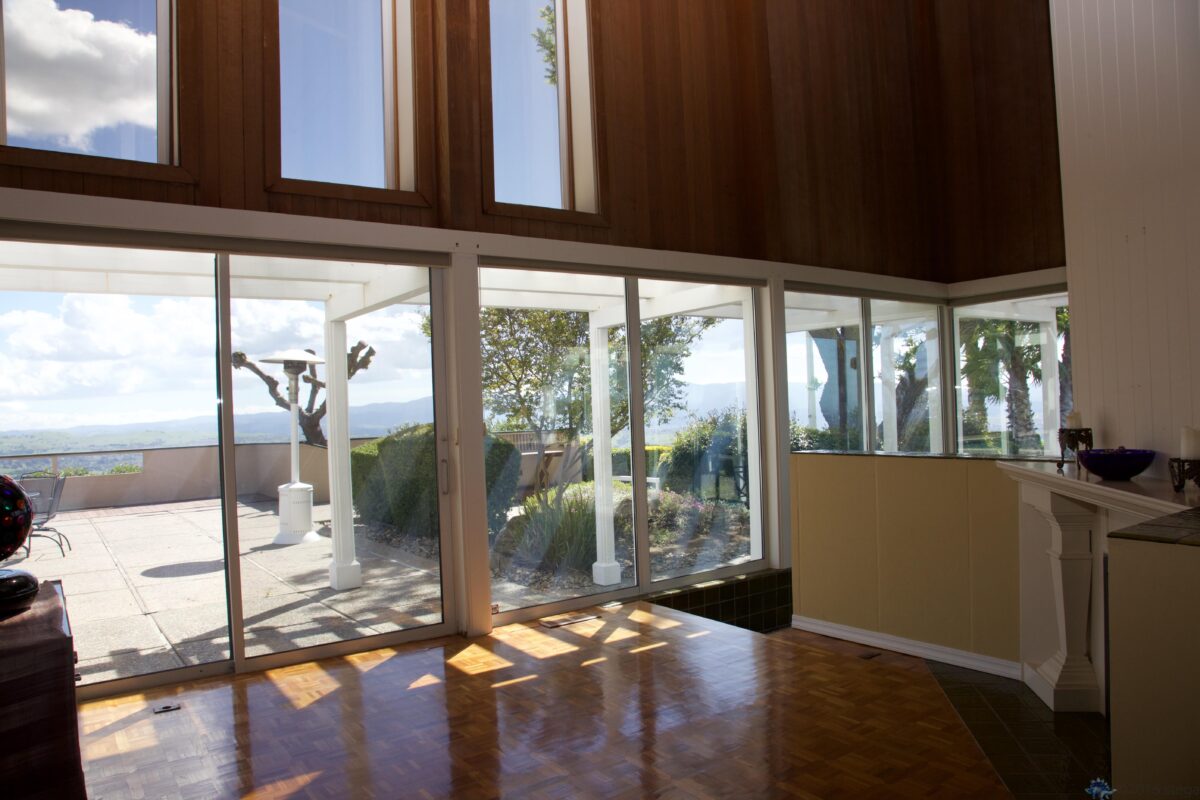
And finally here are pics showing what the space looked like when we first looked at the house, shortly after moving in and earlier today.
