
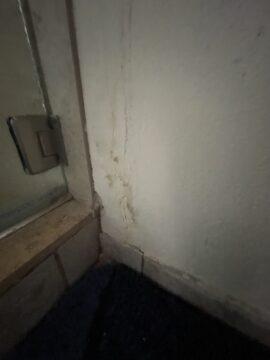
We cannot remodel the master bathroom because of the Santa Clara County Department of Planning’s inability to do its job in a timely fashion. This means we cannot address long-standing issues with the shower (see image below).
Nor can we get rid of a sink, move a toilet, or move the doorway and turn the odd hallway with two reach-in closets into a true walk-in closet. All those things require a permit, and we cannot get a permit until the saga of the pit is closed. And how’s this for a fun fact: in some cases, changing the color of your home’s exterior requires going through the full permitting process! No joke! Painting interior walls does not currently require a permit from the county, and since we’re not sure how long that will still be the case, we took advantage of this oversight to recolor our bedroom walls.
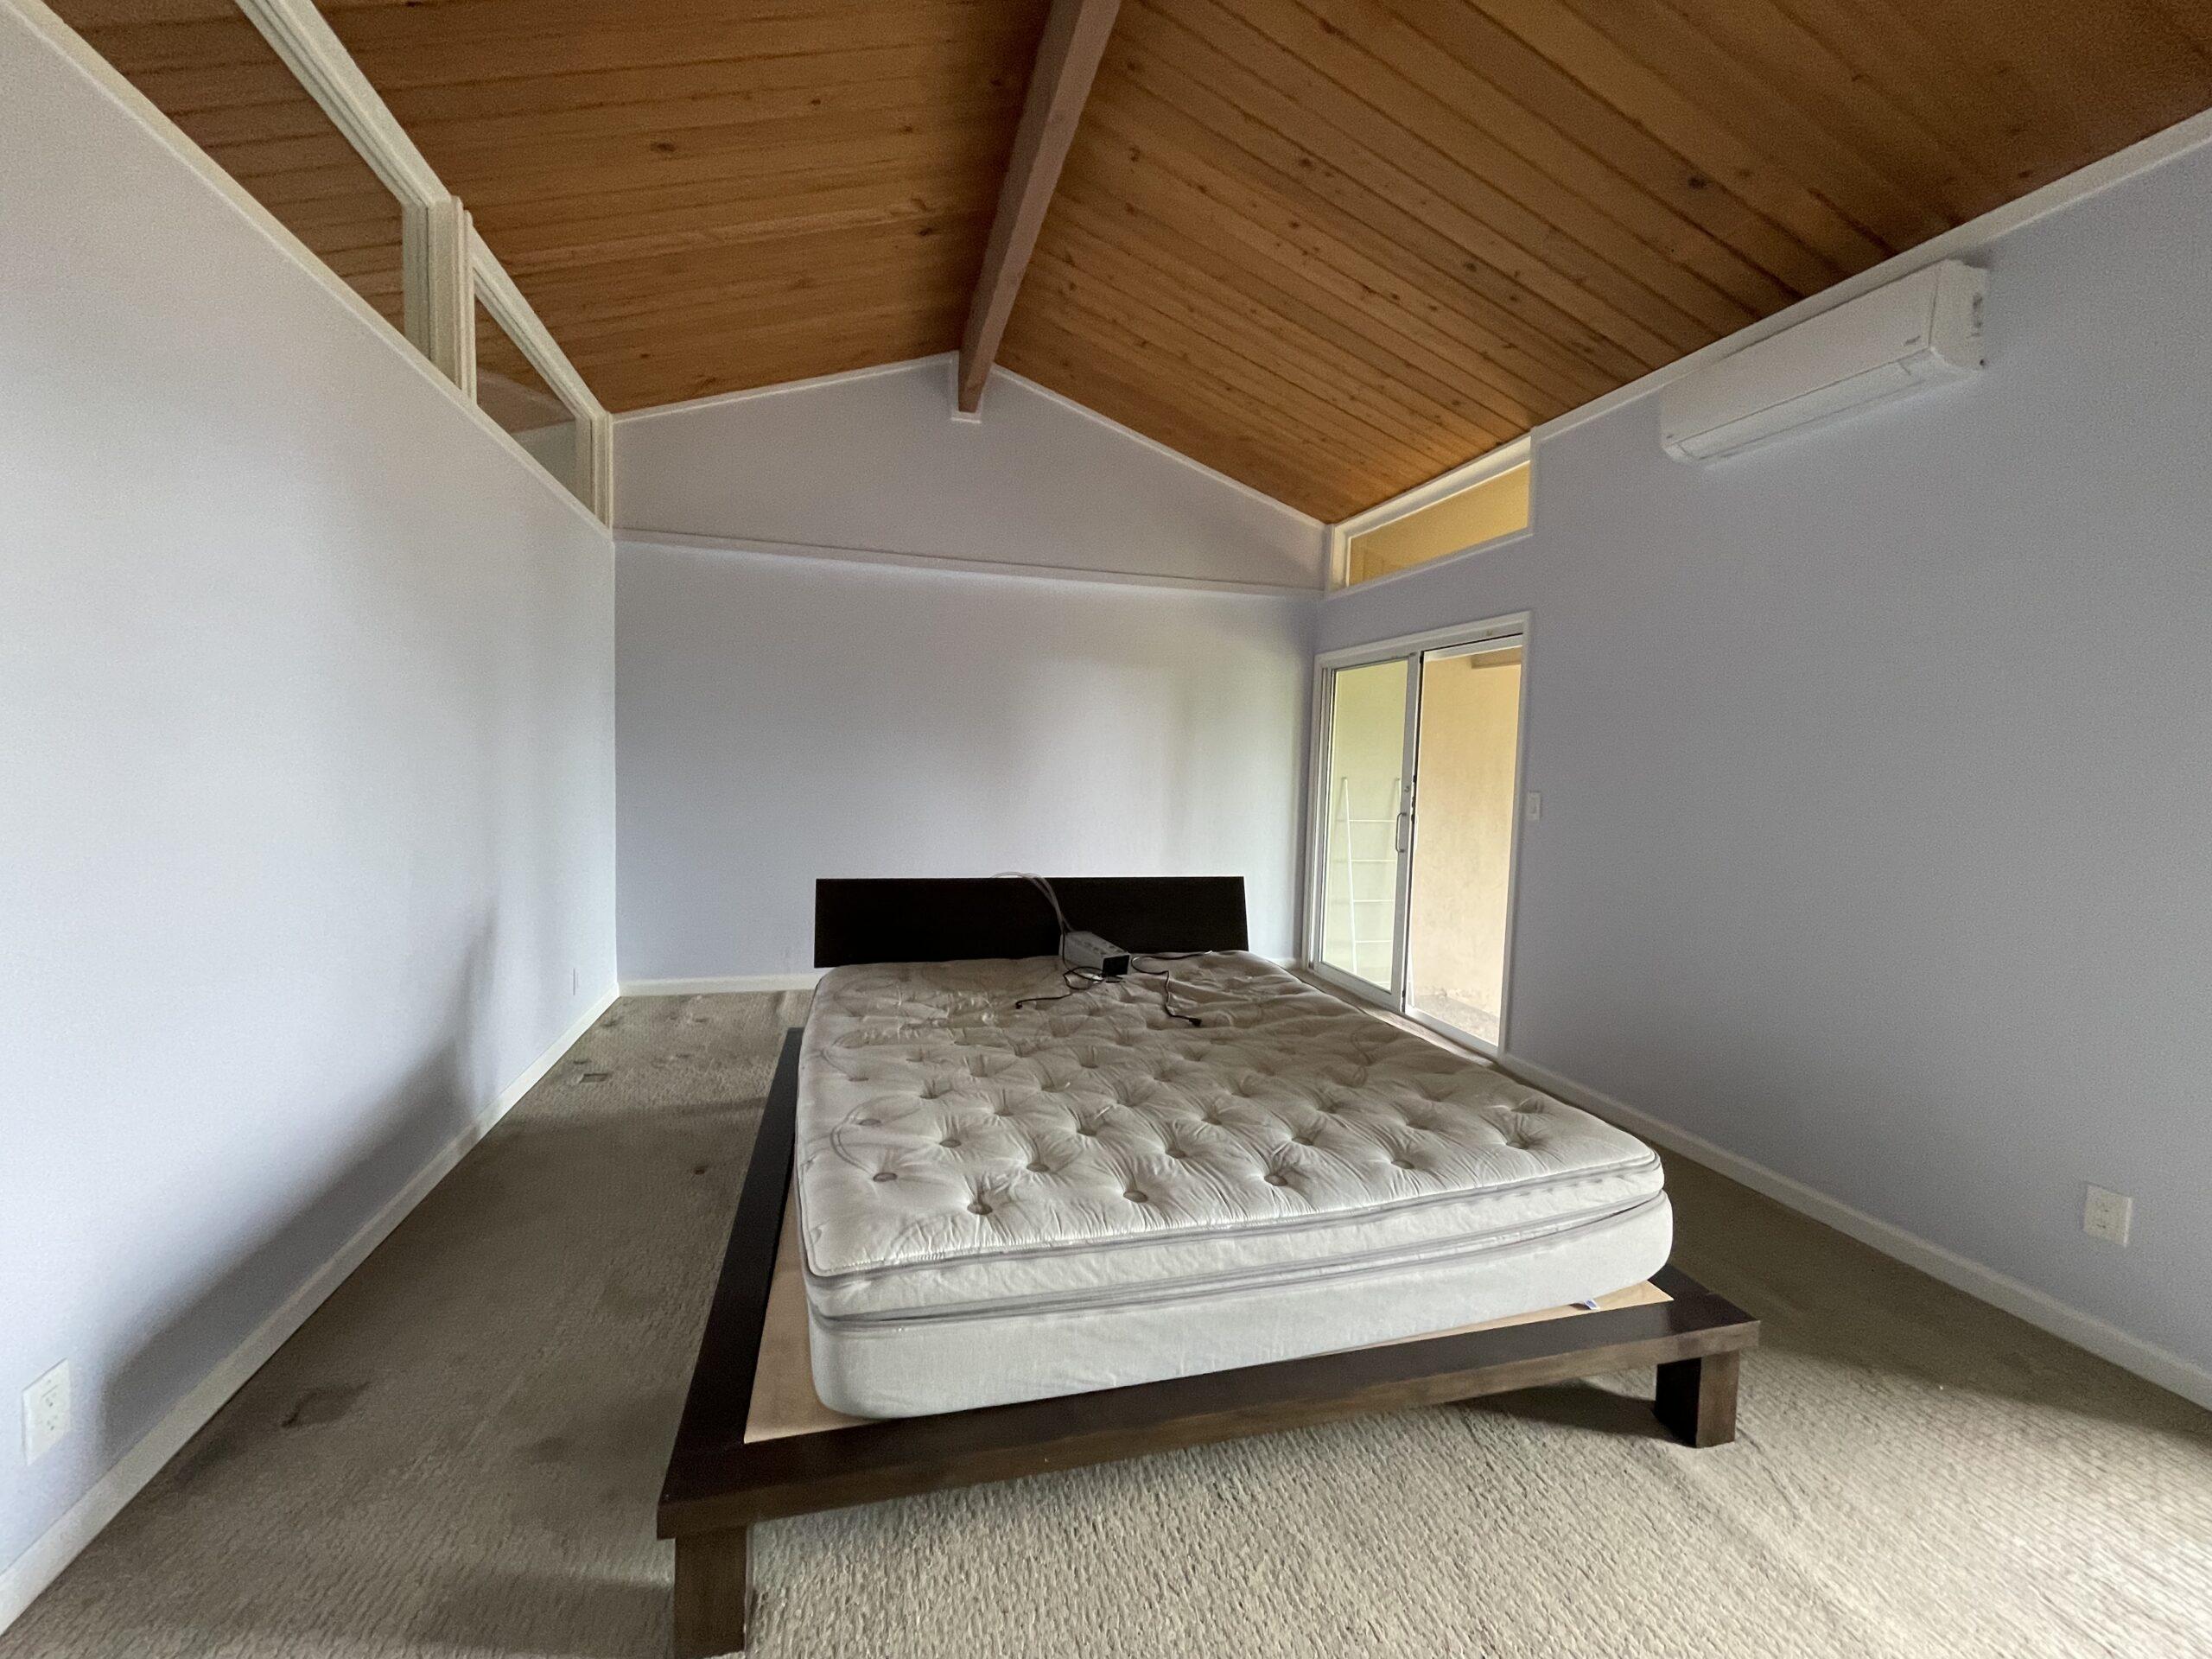
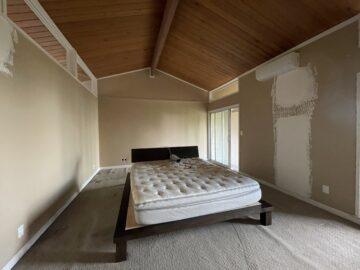
Our bedroom and ensuite bathroom were still the original mucky barf-brown chosen by the previous owners, and had large white patches from where the walls were opened up to install the mini splits. We had to patch the gaping hole left by one of the twelve TVs the previous owners liked to watch. (No, they didn’t have twelve TVs in our bedroom–they were scattered throughout the buildings.) I contacted our regular house painter and he was able to squeeze us in, which meant I had to decide on a color fast.
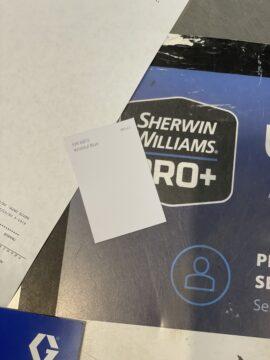
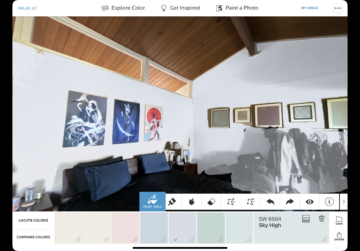
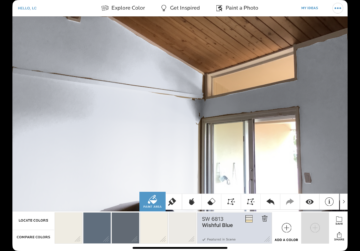
I went with a shade of white that isn’t warm and isn’t cool, but more of an almost purple color: Sherwin Williams’ Wishful Blue. I once again made use of their ColorSnap app, and once again the end results are pretty close to what it predicted.
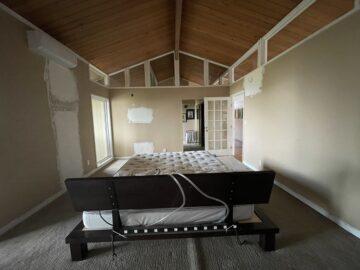
Here are some pics of the planning process.
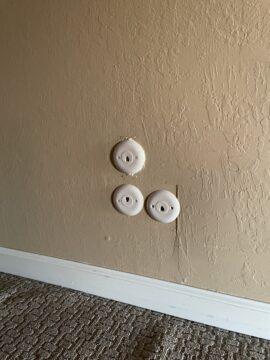
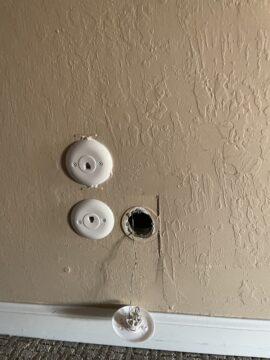
There was a lot of prep work to do–mostly masking–before the trim could be painted, but there was also the assortment of RJ11 jacks still in the walls. While there were just three in one corner, getting rid of them required a bit of serious patching and we had no spare bits of drywall. Thankfully our nearest neighbor came over and used his mad contractor skills and mixed up a small amount of drywall mud and quickly filled in the holes.
A few days later the space was transformed.

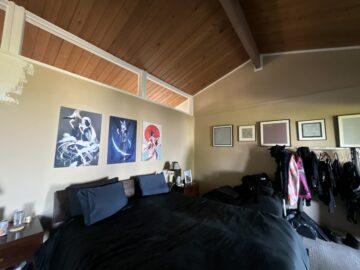
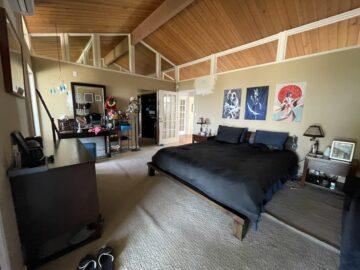
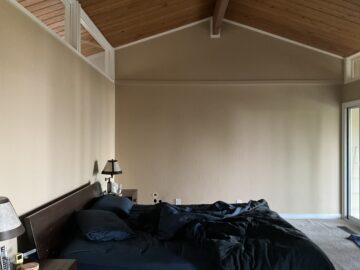


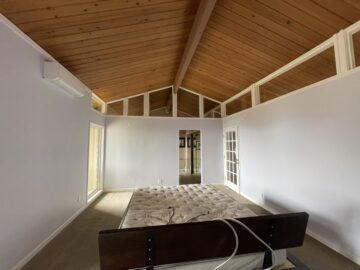
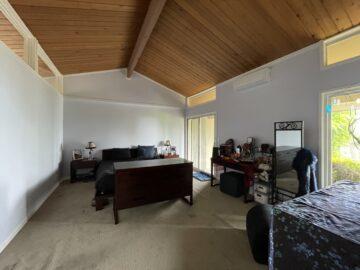
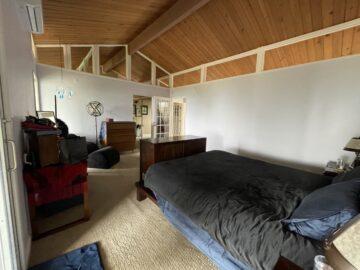
And to drive home the point of how lovely our room is now, here’s a before and after gallery. You may notice we rearranged the furniture as part of this project.
And one more gallery to show imagined vs. reality.