
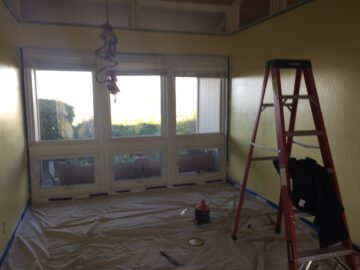
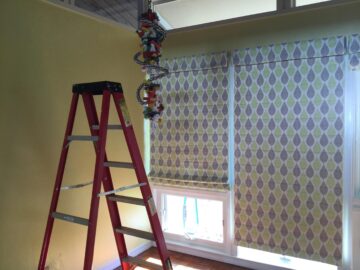
1. Once the trim was masked and drop cloths laid, it was time to get rolling with the paint. Since there were only two walls and the areas below the transom windows, the primary color went on quickly. Unlike the blue room, which was once dark purple, I didn’t have to prime and it took just two coats to cover the pucky brown color with a soft, yet vibrant yellow.
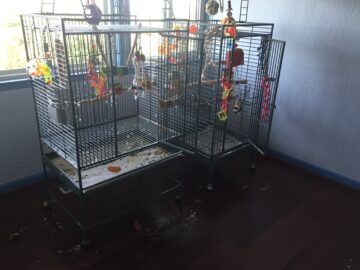
2. The boys spent the better part of the month it took me to do this project in the blue room. Keep in mind that when painting began, we were in the final stages of the driveway repaving and a few other exterior projects were underway. So while it was not ideal for them to be stuck in the room, it at least gave me time to get their space done to my liking. They did, however, make a bit of a mess, but nothing some water and soap couldn’t clean up.
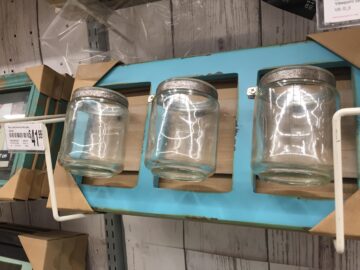
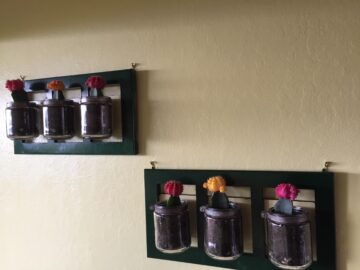
3. I had a lot of fun putting together their “new” space. For example, when I was at Michael’s to get an item framed, I spotted this little wall hanging. I thought it was interesting, but it was $42 so I passed it up and figured I could make something similar with some wood and mason jars. Then when I went to pick up the print I had framed, the item was on sale for just $16, so I bought two of them.
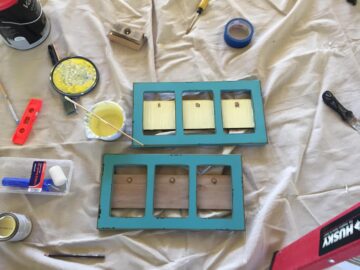
4. I then took them apart and painted them. I painted the backing board the same color as the walls so they’d blend in, and then the frames themselves I painted dark green.
5. I found some mostly bird-proof cacti at Home Despot, so I had something living to place on the walls.
6. Then there was the matter of better light-blocking window shades. After much online investigation, I hit up Blinds.com and had them ship me out some sample fabrics. I figured out what patterns would compliment the colors I used and placed my order. I went with a vertical leaf pattern and instead of just covering the fixed window panes at the top, I had them made to fit the length of both windows. That way only light from the transom windows gets into the space, and the boys tend to sleep in a bit longer and not wake us up at the crack of dawn in hopes that I will stumble in, open their cages, and let them follow me back to our bedroom to join us on the bed and go back to sleep.
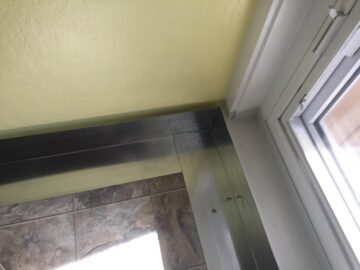
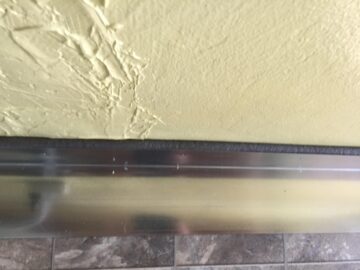
7. Then there was the matter of protecting the floor. When we first moved in, we installed a large piece of vinyl with a wood plank pattern. We secured the edges to the wall, but after a year, Thy learned that vinyl is fun to rip and shred. As part of this project, we put down a new piece of vinyl and set roof flashing atop it along the baseboards so he can’t access the edges and begin his shredding terrorism.
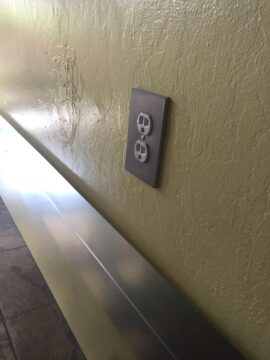
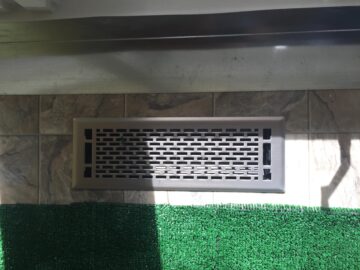
8-9. More shots of the flashing along with one of the fancy new outlet covers we bought. We figured why not get rid of the gross and old–so much that we also bought a new furnace register cover too. As a bonus, the new vinyl is light in color and thus camouflages bird poop! And to make cleanup even easier, we bought a fake grass rug and placed it under the cages, so anything they drop tends to stay put and it’s a simple matter of using the shop-vac once or twice a week to remove the mess.
10. One final detail to the whole “mess containment” system are sections of foam insulation between the flashing and the walls. The foam fills the gap between the flashing and the wall, keeping any stray debris from getting trapped in the space. You can see the totally non-stellar patch job on one of the gaping holes from the outlet boxes I removed. I have since learned from our nearest neighbor how to do a proper patch using drywall instead of a store-bought screen.
After all these little details, there were a few rather special touches made to complete the room…