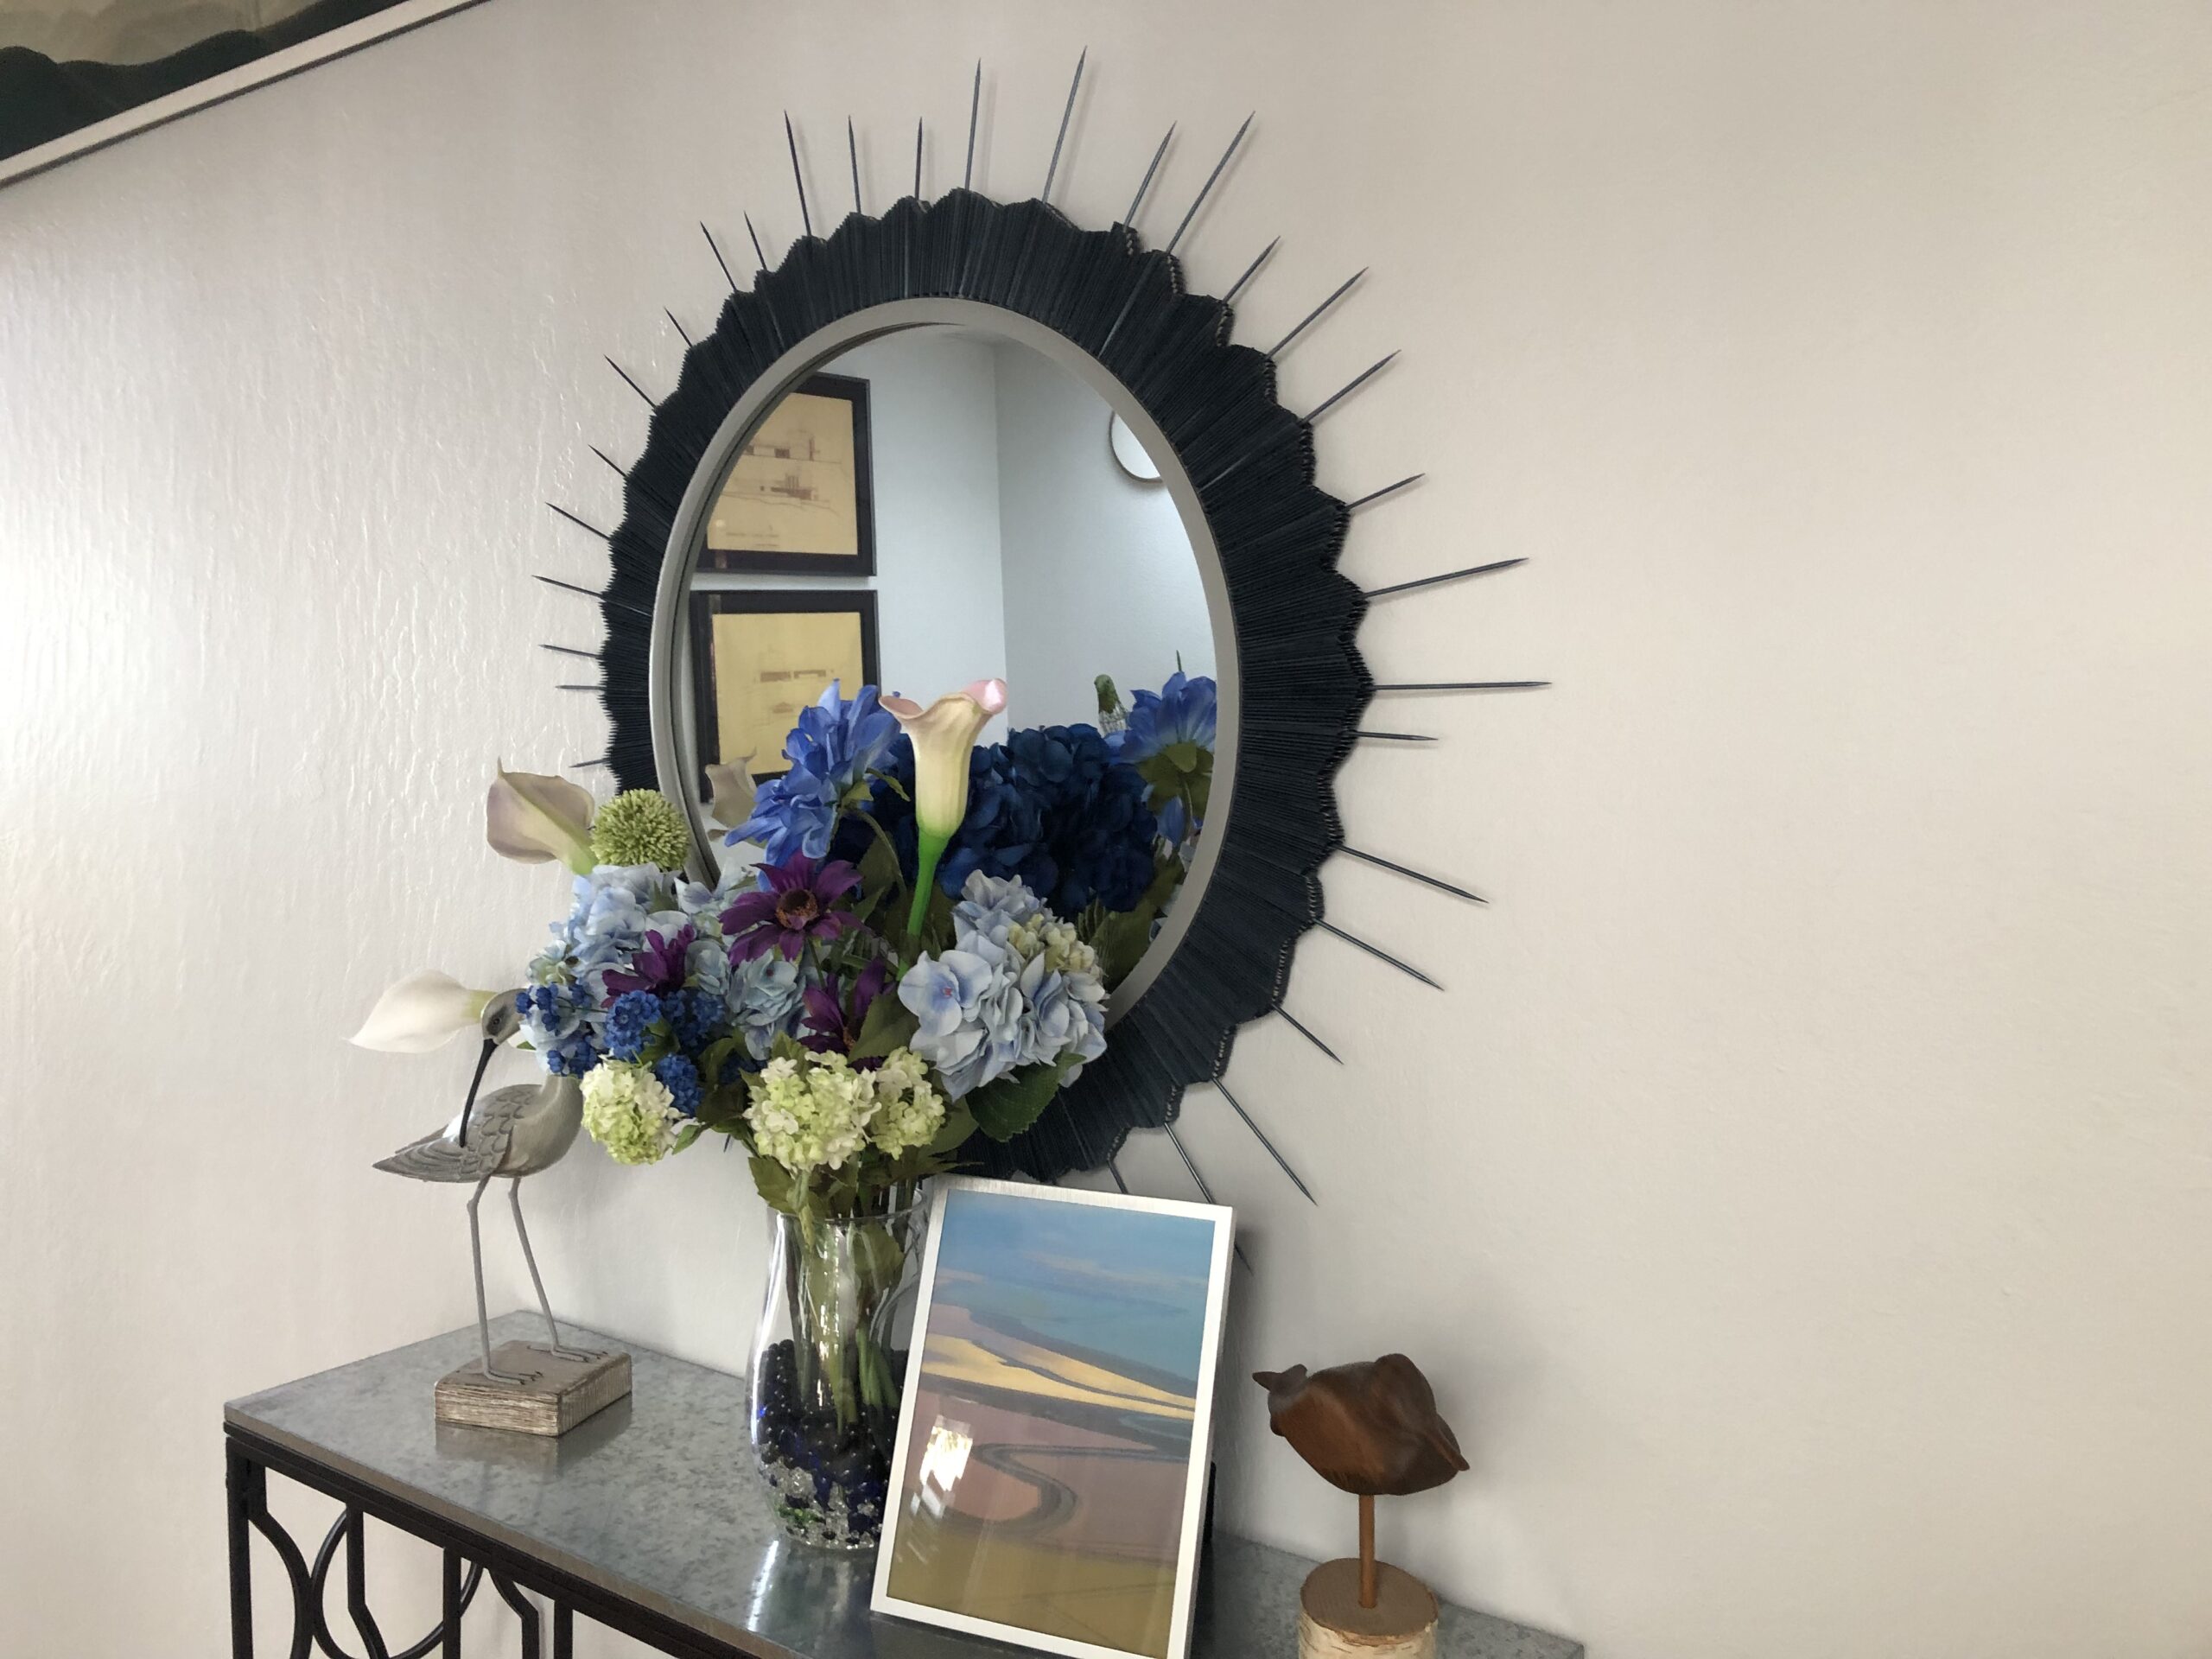
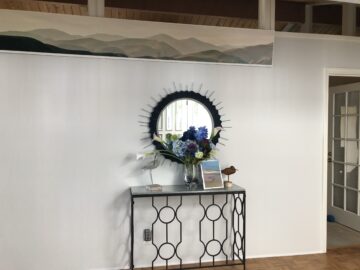
As mentioned in the last post, the 3D printer helped with a recent crafty project that I created for the foyer/great room here at Purgatory. I spent a few hours scouring various websites trying to find a starburst style mirror that was actually a mirror and not just a 10 inch reflective surface surrounded by a bunch of bits and bobs. I failed. So then I thought, why not make something?
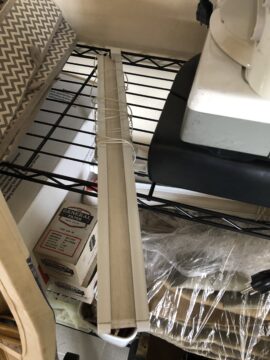
I remembered that when I revamped the guest room, I had removed the silly 12″ wide honeycomb blinds and replaced them with curtains. I still had the blinds; they were sitting on a shelf in the downstairs room of the studio building. Why not reuse them, I thought?
So I found a mirror I thought would work (an Umbra, Grey Hub 24” Round Wall Mirror With Rubber Frame to be exact), and then just like that, a plan came together.
First I took the blinds apart, and then using some clamps and borrowing Agent Smith’s work bench, I cut them into 4″ long segments. Clamps made it pretty easy to get good clean cuts with a sharp blade.
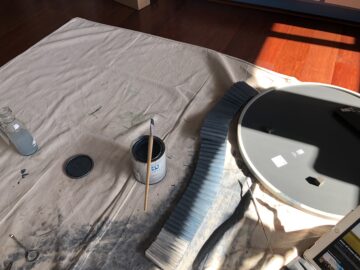
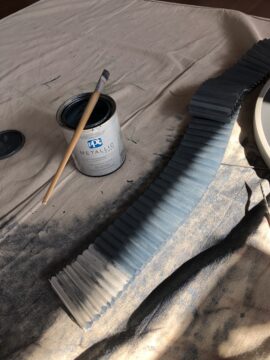
Then, using the same paint used on some of the walls in the great room, I painted the short lengths of old blinds. This actually took quite a bit of time as the material was porous and I had to make sure that the folds didn’t stick to one another as the paint dried.
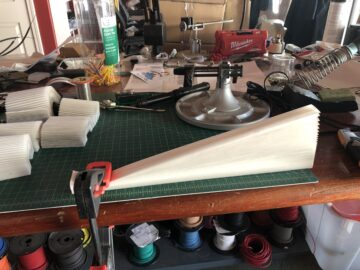
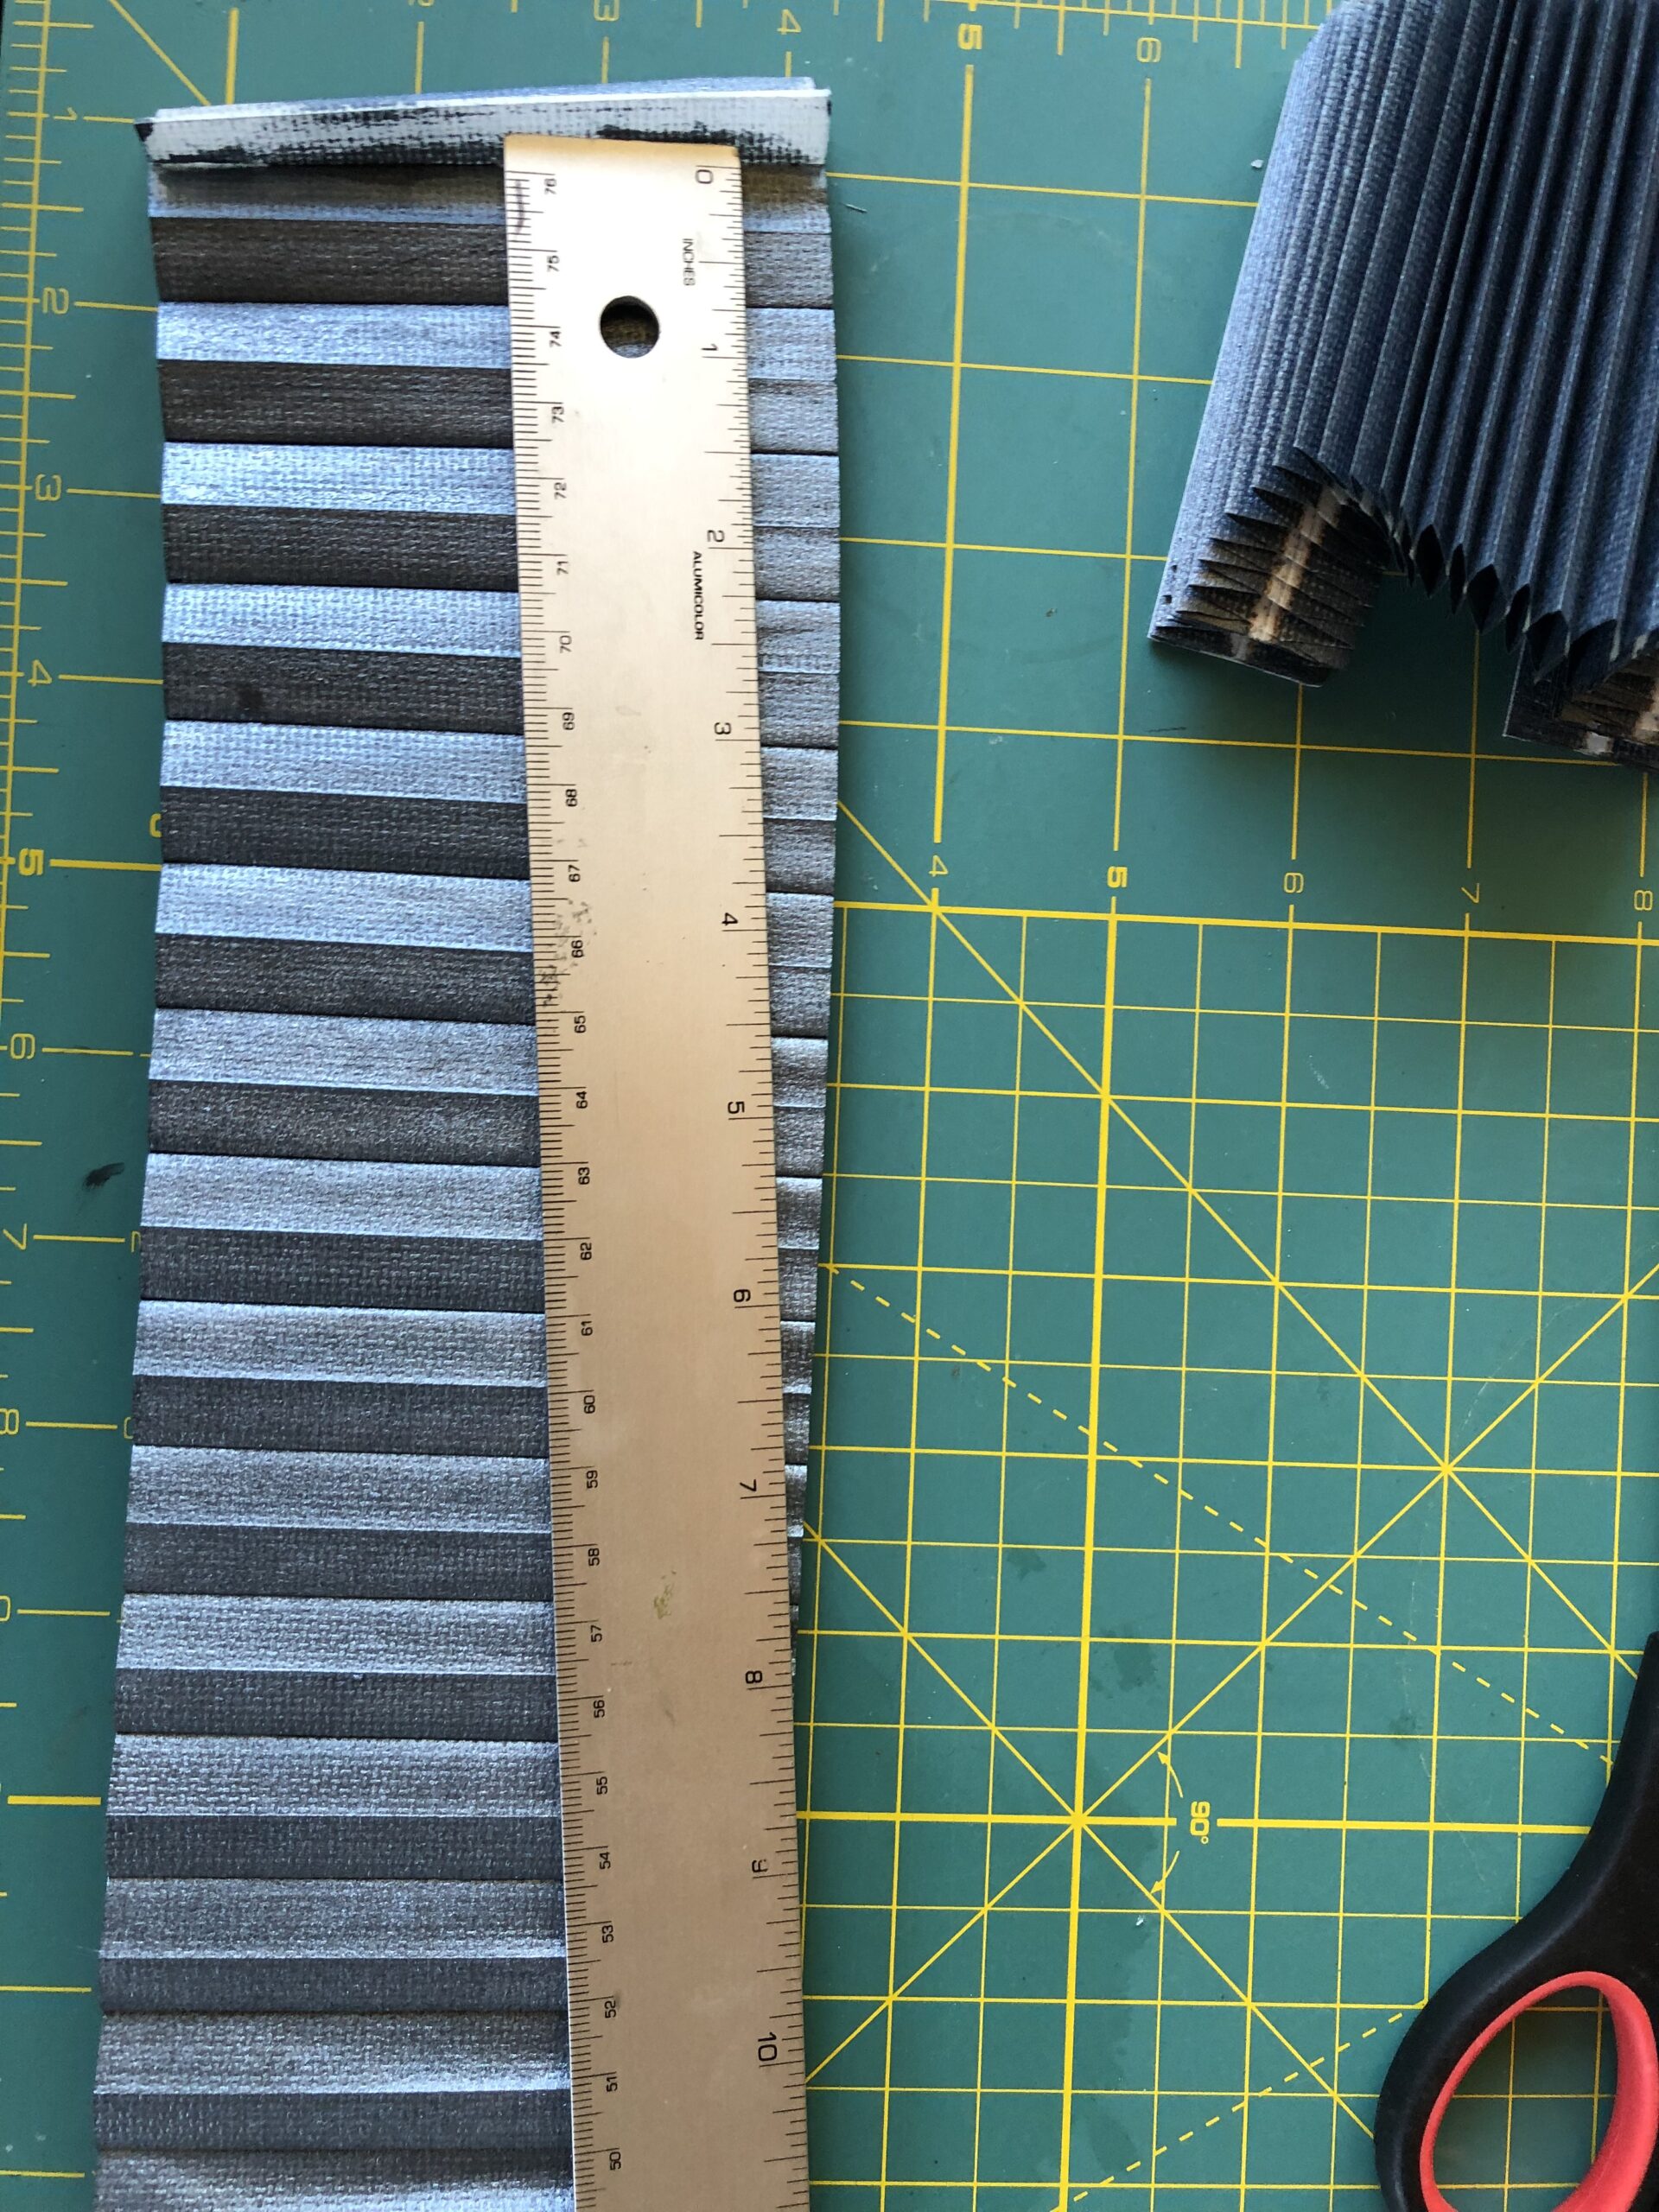
After two+ coats of paint, I then sculpted the segments, meaning I used a sharp blade and lopped off angled sections from one side, leaving the other side untouched (first pic below).
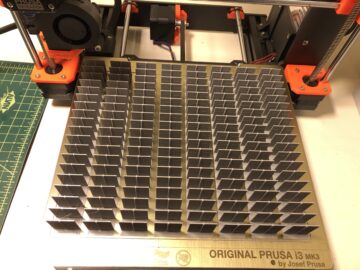
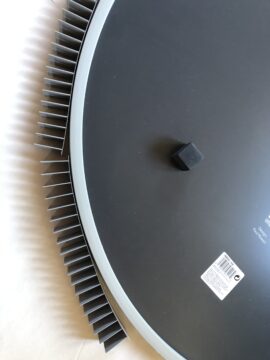
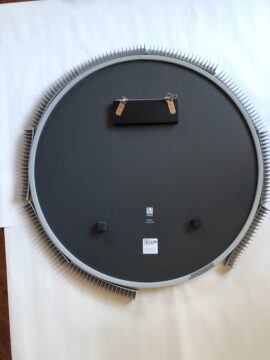
While I was busy painting and cutting, I also had to figure out how to attach all these sections of the old blinds to the mirror’s frame. That’s where Agent Smith stepped in to assist. Using the 3D printer he made me a dozen or so strips with short thin mini-walls every quarter-inch or so. The second image below shows a full print of 8 such strips: each vertical line is one strip.
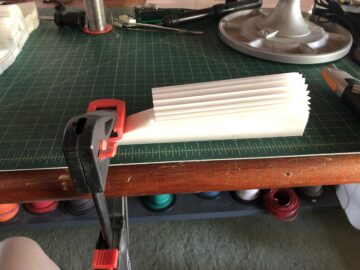
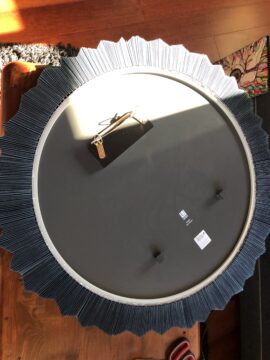
Then I took the strips and glued them to the frame of the mirror using a good silicone adhesive (pics 3-4).
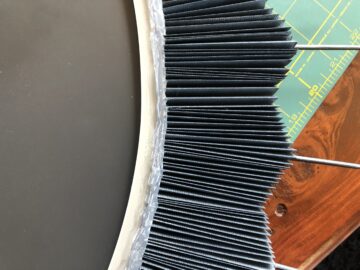
Once the glue had cured, I slid the painted blind segments over the little flappy-walls with the straight edge ending flush against the frame of the mirror. Once I had things arranged to my liking, I glued the painted blind bits in place (pic 5).
It still needed something though.
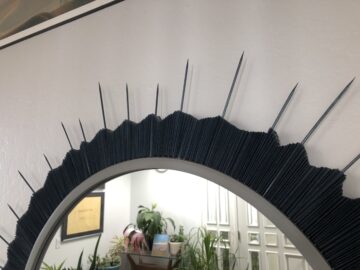
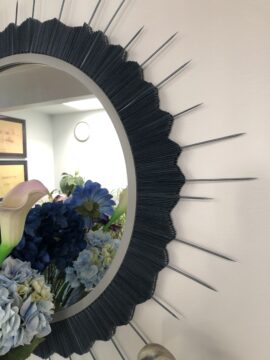
I’d been using a bunch of wooden skewers, the kind you use when cooking, as they are handy when painting long strips of things since you can manipulate the material without getting paint all over your hands. Plus they’re great when you are working with glues for the same reason. When looking at some of the skewers that were partly covered in paint I realized that they would be a nice finishing touch, so I painted a bunch more, and once they were dried I cut them down to varying lengths and then glued them in place between some of the blind cells (last pic).
The end result is just as I envisioned it would be: a useful foyer mirror with a bit of pizzaz. I’m pretty proud of my handiwork.

